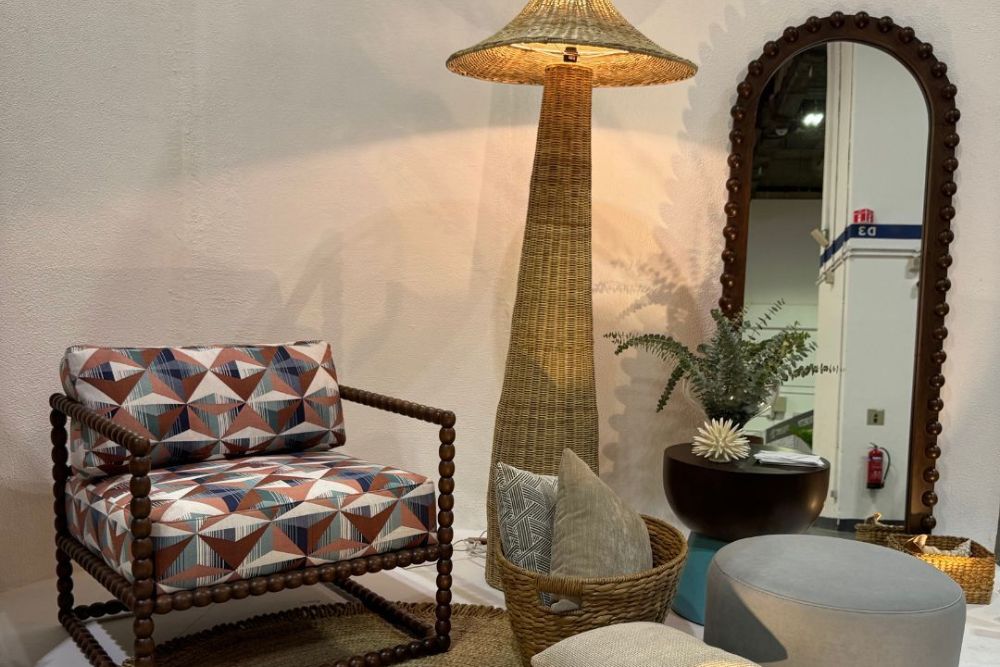
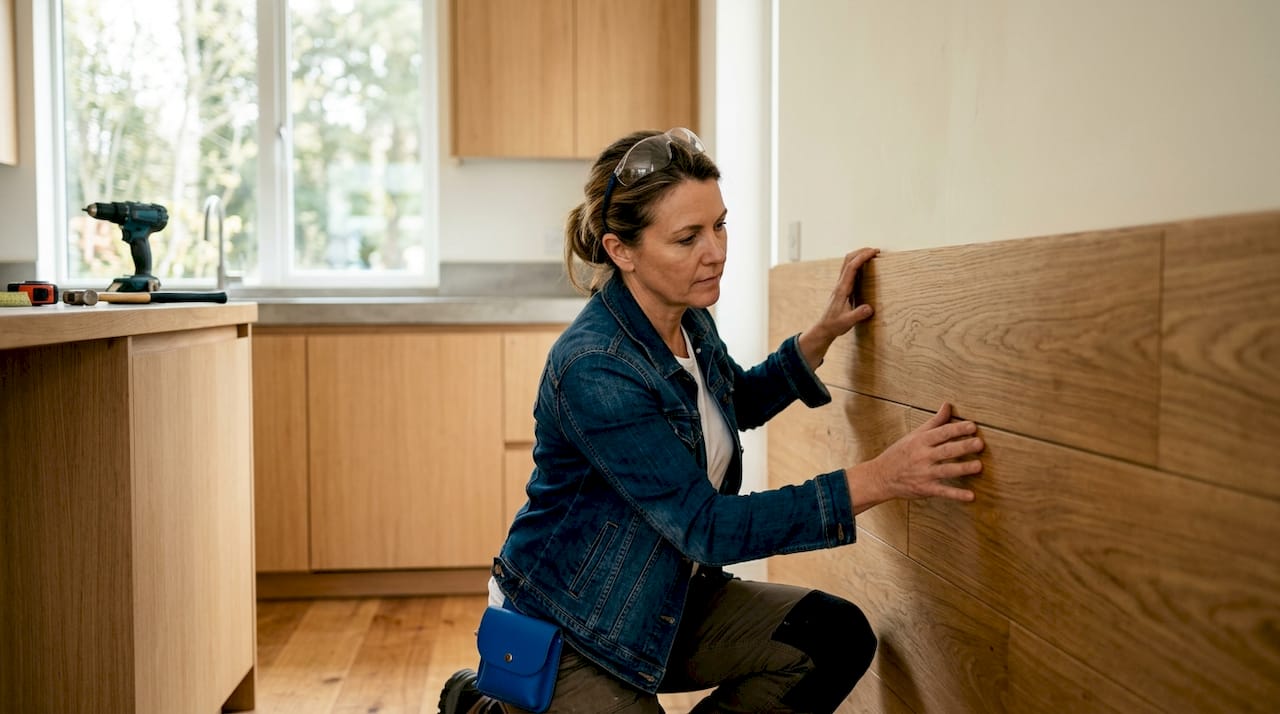
Adding wood panels to walls is the most direct way to bring natural warmth, texture, and architectural depth into any interior. Known in the trade as wood wall paneling, this technique has moved well beyond the dated look of 1970s knotty pine. Today, it defines entire rooms through layered materials, 3D profiles, and acoustic performance. Whether you are planning a full accent wall or a subtle wainscoting treatment, the results depend on preparation, precision, and a clear understanding of how wood behaves indoors.
What are the real benefits of adding wood panels to walls?
Wood wall paneling does more than look beautiful. It is a warmth multiplier, a textural anchor, and a functional upgrade all at once. Wall panels have evolved into central design elements that anchor a room’s personality rather than simply serving as decorative backdrops. That shift matters because it changes how you plan the project from the start.
The acoustic benefit is one of the most underappreciated advantages. Wood panels reduce noise and echo, particularly when combined with acoustic felt backing. This makes them especially appealing in open-plan living spaces, home offices, and bedrooms where sound control shapes daily comfort.
Current 2026 design trends favor:
- Layered, mixed-material paneling combining wood with metal accents or fabric inserts for rich, tactile depth
- 3D textured profiles such as fluted columns and vertical slat systems that create shadow lines and visual movement
- Biophilic design integration using raw-grain oak, walnut, and ash to connect interiors to the natural world
- Full-height installations that replace traditional wainscoting with floor-to-ceiling statements
Layered mixed-material paneling creates a richness that no single-material surface can match. The interplay of wood grain against matte metal or woven fabric gives a room a sense of considered luxury. For homeowners exploring modern interior wall paneling design ideas, this layered approach is the clearest path to a space that feels both current and timeless.
Tools, materials, and preparation before installing wood panels
Preparation is where professional results are won or lost. Arriving at installation day without the right tools or a properly conditioned wall guarantees problems later.
Essential tools and materials:
| Item | Purpose |
|---|---|
| Laser level | Ensures first panel is perfectly plumb and level |
| Measuring tape and pencil | Accurate layout marking |
| Jigsaw or circular saw | Clean panel cuts |
| Construction adhesive | Bonds panels to wall surface |
| Finishing nails and nail gun | Mechanical fastening for security |
| Furring strips | Creates flat substrate on uneven walls |
| Safety glasses and dust mask | Protects during cutting |
The single most overlooked preparation step is acclimation. Solid wood panels require 72 hours to 14 days of acclimation inside the installation room before any fastening begins. Solid wood is hygroscopic, meaning it absorbs and releases moisture continuously in response to the surrounding air. Skipping this step causes warping, shrinking, or visible gaps after installation.
Surface quality matters just as much. Walls must be clean, dry, and level within 3 mm over 2.5 meters for panels to sit flat and bond correctly. On uneven or moisture-prone surfaces such as concrete or exterior-facing walls, furring strips create a flat, breathable substrate that prevents moisture transfer from the wall into the wood.
Pro Tip: Stack your panels flat in the room where they will be installed, with spacers between each board to allow airflow on all sides. This speeds up even acclimation and reduces the risk of cupping.
How do you install wood panels on walls step by step?
A clean installation follows a logical sequence. Rushing any stage creates compounding errors that are difficult to fix once panels are fastened.
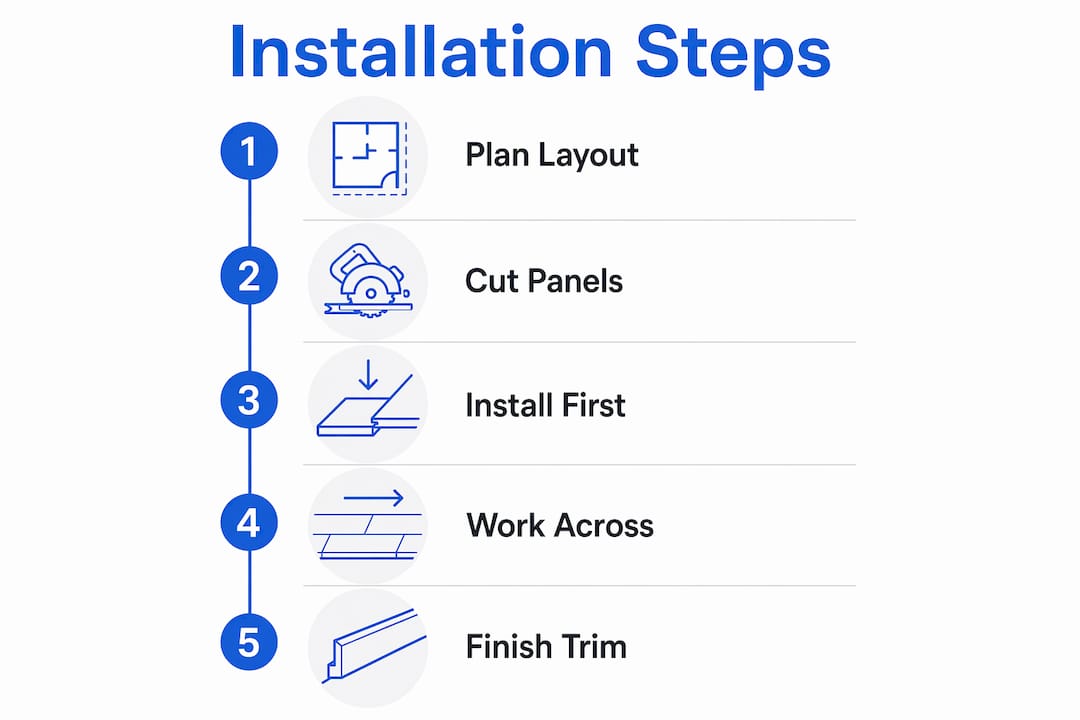
1. Plan and mark your layout
Start by measuring the wall and mapping out your panel arrangement on paper. Identify where cuts will fall, especially around outlets, windows, and corners. Mark a true vertical reference line using a laser level before touching a single panel.
2. Cut panels to size
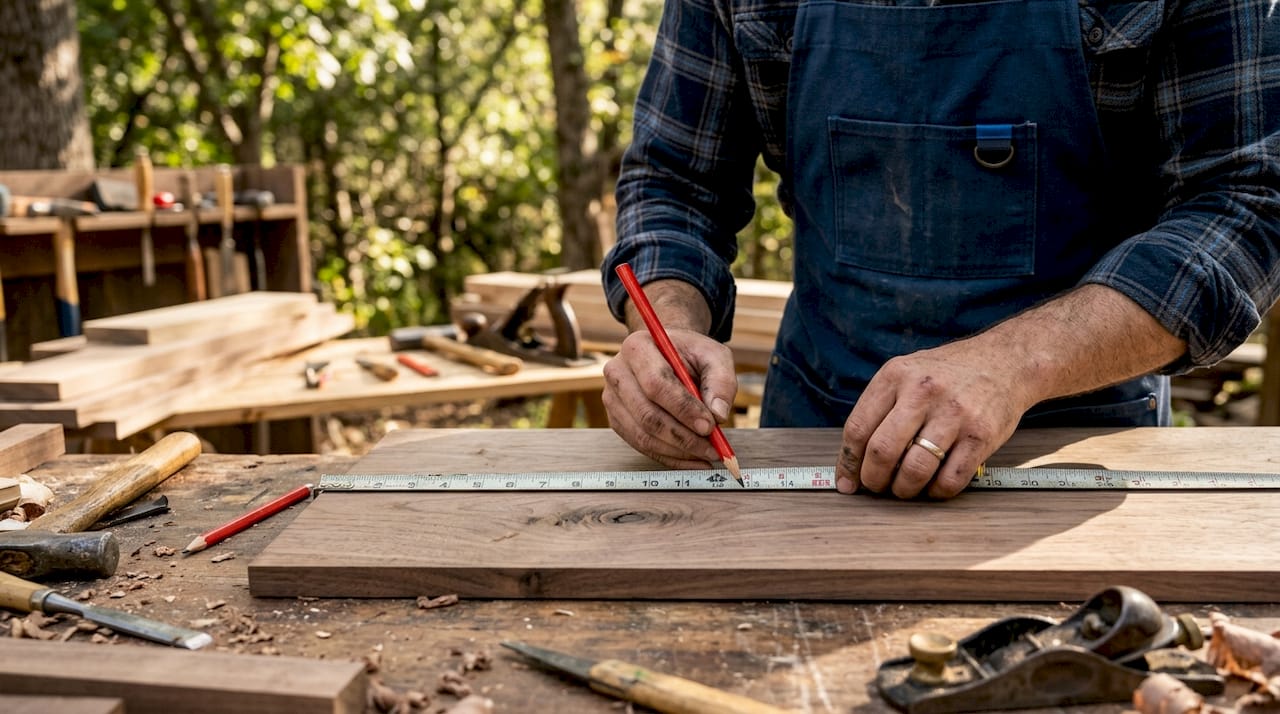
Cut each panel to height, but leave a 10–15 mm expansion gap at both the ceiling and the floor. This gap accommodates the wood’s natural seasonal movement. Without it, panels buckle as humidity rises in summer. The gap disappears completely once you install trim or baseboards.
3. Install the first panel with precision
The first panel sets the standard for the entire wall. Check it for plumb vertically and level horizontally before fastening. Any deviation here multiplies across every subsequent panel. Use a laser level, not just a spirit level, for this step.
Attachment methods vary by panel type:
- Adhesive only: Works well for lightweight engineered panels on smooth plasterboard
- Adhesive plus nails: The most reliable combination for solid wood panels on any surface
- Screws through a hidden channel: Used for tongue-and-groove systems where fasteners must stay invisible
- Clip systems: Common on acoustic slat panels; allow future removal without damage
4. Work panel by panel across the wall
Apply adhesive in a serpentine pattern across the back of each panel. Press firmly, then nail through the tongue or face as required by the panel system. Check level after every third panel. Acoustic slat panel systems sized at 240 x 60 cm can be installed within a few hours when surfaces are properly prepared. That speed is only possible because the substrate work was done correctly beforehand.
5. Finish with trim and touch-ups
Install baseboards and ceiling trim to cover expansion gaps. Fill any visible nail holes with color-matched wood filler. Lightly sand filled spots once dry, then apply a matching finish coat. Step back and check the wall from an angle to catch any panels that sit proud of their neighbors.
Pro Tip: If you are working alone, cut a small wooden spacer block to the exact height of your expansion gap and rest each panel on it while you fasten. This keeps both hands free and maintains consistent spacing.
Wood panels install over plasterboard, plaster, concrete, and tiles, making them one of the most versatile wall treatments available for DIY homeowners.
What mistakes should you avoid when paneling walls?
Most installation failures trace back to a handful of predictable errors. Knowing them in advance saves significant time and material cost.
- Skipping acclimation: Panels installed without proper conditioning will warp, shrink, or develop gaps within weeks. The 72-hour minimum is non-negotiable for solid wood.
- Ignoring expansion gaps: Panels fastened tight to the floor or ceiling have nowhere to move. Buckling is the result, and it requires full removal to fix.
- Misaligning the first panel: A first panel that is even slightly off-plumb sends every subsequent panel further out of alignment. The error becomes visible and irreversible by the time you reach the far end of the wall.
- Wrong adhesive application: Applying adhesive too close to panel edges causes squeeze-out that stains the face. Apply it in a serpentine pattern, stopping 50 mm from all edges.
- Over-nailing: Driving too many fasteners into solid wood restricts natural movement and can cause surface cracking over time.
“The most common mistake I see is homeowners rushing the first panel. They get excited, they skip the laser level, and by the time they reach the corner, the whole wall looks like it’s leaning. Patience at the start saves hours of frustration at the end.”
For minor problems like a single panel that sits slightly proud, a block plane or belt sander can bring it flush without removal. For panels that have buckled due to missing expansion gaps, full removal and reinstallation with correct spacing is the only lasting fix.
How do you keep wood panels looking beautiful long-term?
Wood paneling rewards consistent, gentle care. Neglect accelerates fading, finish breakdown, and structural movement.
- Control indoor humidity between 30% and 60% year-round. This range keeps solid wood stable and prevents both shrinking in dry winters and swelling in humid summers.
- Dust weekly with a soft microfiber cloth. Dust buildup traps moisture against the surface and dulls the finish over time.
- Clean with pH-neutral products. Harsh chemicals and excess moisture strip protective finishes and raise wood grain. A lightly dampened cloth is sufficient for most marks.
- Reapply maintenance oil to oiled panels once or twice per year, depending on the room’s light exposure and traffic. Oiled finishes need periodic renewal to maintain their depth of color and water resistance.
- Replace damaged panels promptly. A cracked or deeply stained panel weakens the visual integrity of the entire wall. Most tongue-and-groove systems allow individual panel removal without disturbing neighbors.
Pro Tip: Place a small digital hygrometer in rooms with wood paneling. They cost very little and give you an instant reading of indoor humidity, so you can adjust your HVAC or add a humidifier before the wood reacts.
For homeowners who want to see how texture shapes a room’s atmosphere, wood paneling is the most tactile and immediate way to experience that effect firsthand.
Key Takeaways
Successful wood wall paneling depends on proper acclimation, precise first-panel alignment, and consistent expansion gaps, not just the choice of wood species or finish.
| Point | Details |
|---|---|
| Acclimate before installing | Allow solid wood panels 72 hours to 14 days in the room to prevent warping. |
| Prepare the surface first | Walls must be clean, dry, and level within 3 mm; use furring strips on uneven surfaces. |
| Leave expansion gaps | A 10–15 mm gap at floor and ceiling prevents buckling and hides behind trim. |
| Nail the first panel perfectly | Any misalignment in the first panel compounds across the entire wall. |
| Maintain humidity at 30%–60% | Stable indoor humidity keeps wood panels structurally sound and visually consistent. |
Wood paneling as a design commitment, not just a project
I have watched homeowners treat wood paneling as a weekend task and then spend months living with the consequences of rushed preparation. The acclimation period feels like wasted time when you are excited to see the finished wall. It is not. It is the difference between a wall that looks better every year and one that starts showing gaps by the following winter.
What I find most compelling about the current direction of wood wall paneling is the move toward mixed materials. A wall that combines vertical oak slats with a recessed strip of brushed brass or a panel of woven linen sits in a completely different category from a plain plank wall. It reads as architecture, not decoration. That distinction matters when you are thinking about how a room will age.
The acoustic dimension is also worth taking seriously. Wood panels paired with acoustic felt do not just look calmer. They make a room feel calmer. In an era where home offices and open-plan living create constant sound bleed, that functional quality is as valuable as the visual one.
My honest advice: spend twice as long on planning and preparation as you think you need, and half as long worrying about which wood species to choose. The grain and color matter far less than the flatness of your substrate and the precision of your first panel. Get those right, and the wood will do the rest.
— Nealda
Where to find your next design move
Wood paneling opens a room to an entirely new range of styling possibilities, from art placement to furniture selection to lighting choices. Artinlifestyle has curated the resources that help homeowners take that next step with confidence.

The DIY home decor ideas collection on Artinlifestyle covers practical projects that pair naturally with a freshly paneled wall, from gallery arrangements to textile layering. For homeowners thinking about the bedroom specifically, the 2026 bedroom design trends guide shows exactly how wood texture and natural materials are shaping the most admired interiors this year. Both resources are free, detailed, and built for readers who want inspiration grounded in real design thinking.
FAQ
What is the best wood for wall paneling?
Oak, walnut, and ash are the most popular choices for wood wall paneling because they offer stable grain, good hardness, and a wide range of finish options. Engineered wood panels work well in high-humidity rooms like bathrooms where solid wood would be less stable.
How long does it take to install wood panels on a wall?
A standard accent wall takes one to two days for a prepared DIYer, including layout, cutting, and fastening. Modern acoustic slat panel systems sized at 240 x 60 cm can be installed in a few hours when the surface is properly prepared in advance.
Do wood panels need expansion gaps?
Yes. A 10–15 mm expansion gap at the floor and ceiling is required to accommodate seasonal wood movement. Skipping this gap causes panels to buckle as humidity changes, and the repair requires full removal and reinstallation.
Can you install wood panels over existing tiles or concrete?
Wood panels install over plasterboard, plaster, concrete, and tiles. On concrete or moisture-prone surfaces, furring strips are recommended to create a flat, breathable substrate that protects the wood from moisture transfer.
How do you maintain wood wall panels?
Dust weekly with a microfiber cloth and clean with a pH-neutral cleaner. Keep indoor humidity between 30% and 60%, and reapply maintenance oil to oiled panels once or twice per year to preserve their finish and color depth.