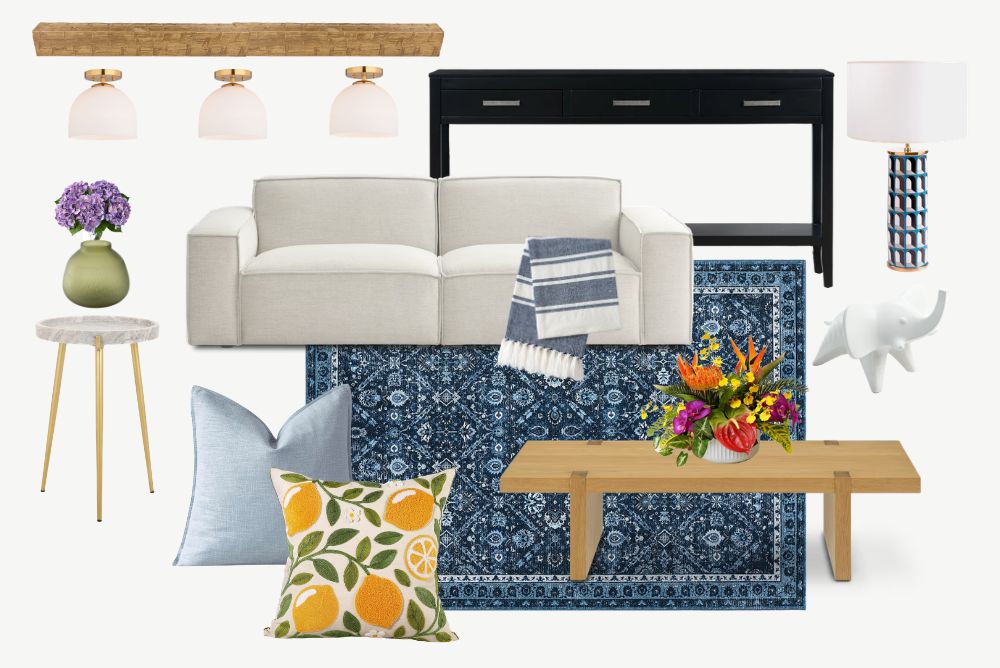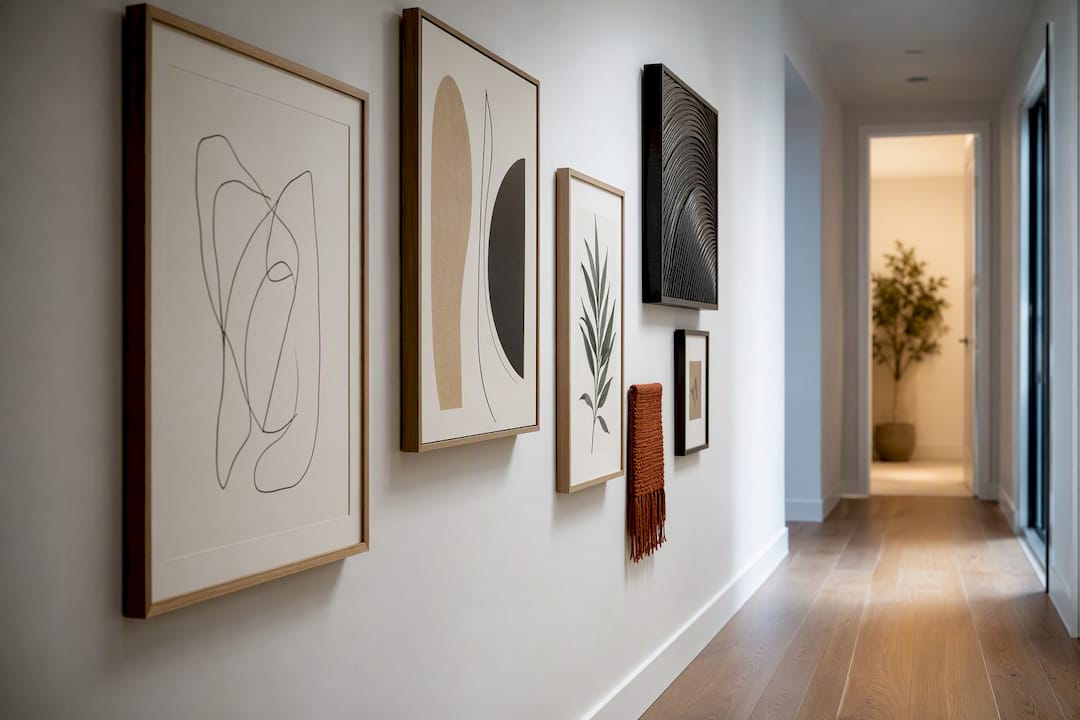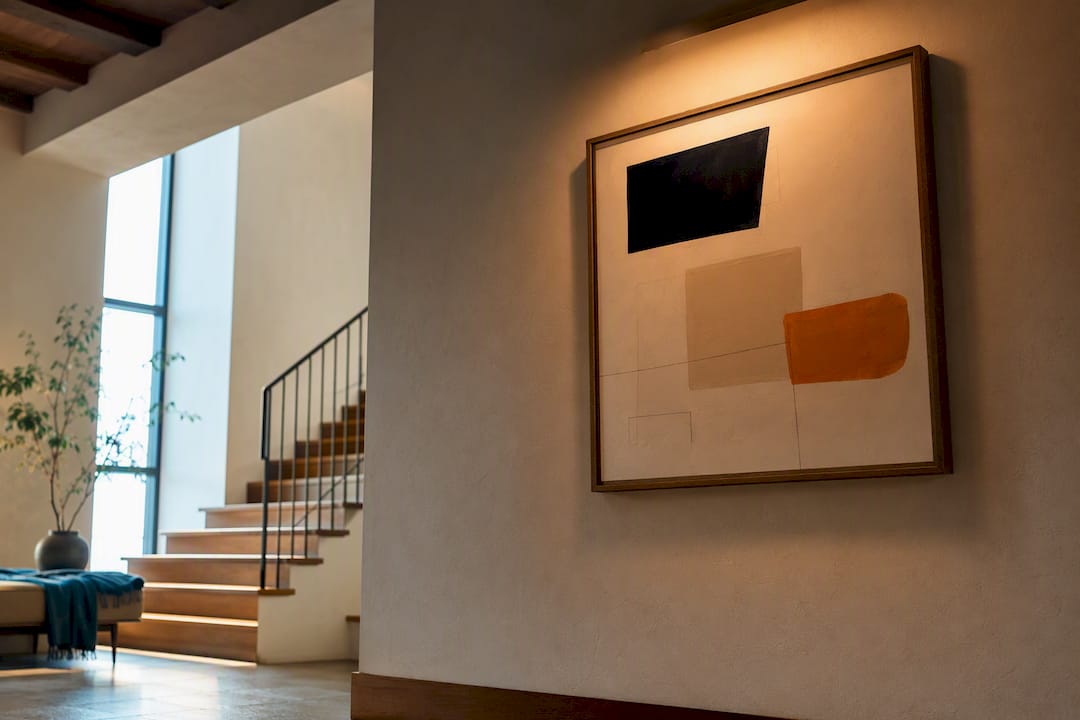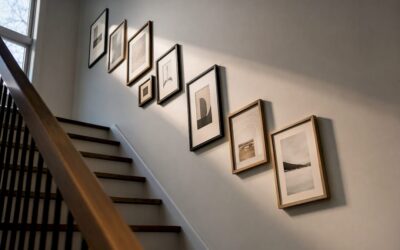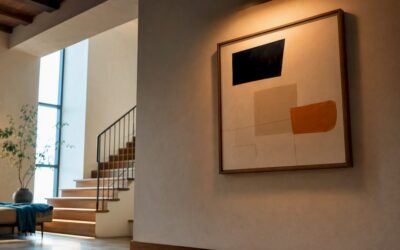
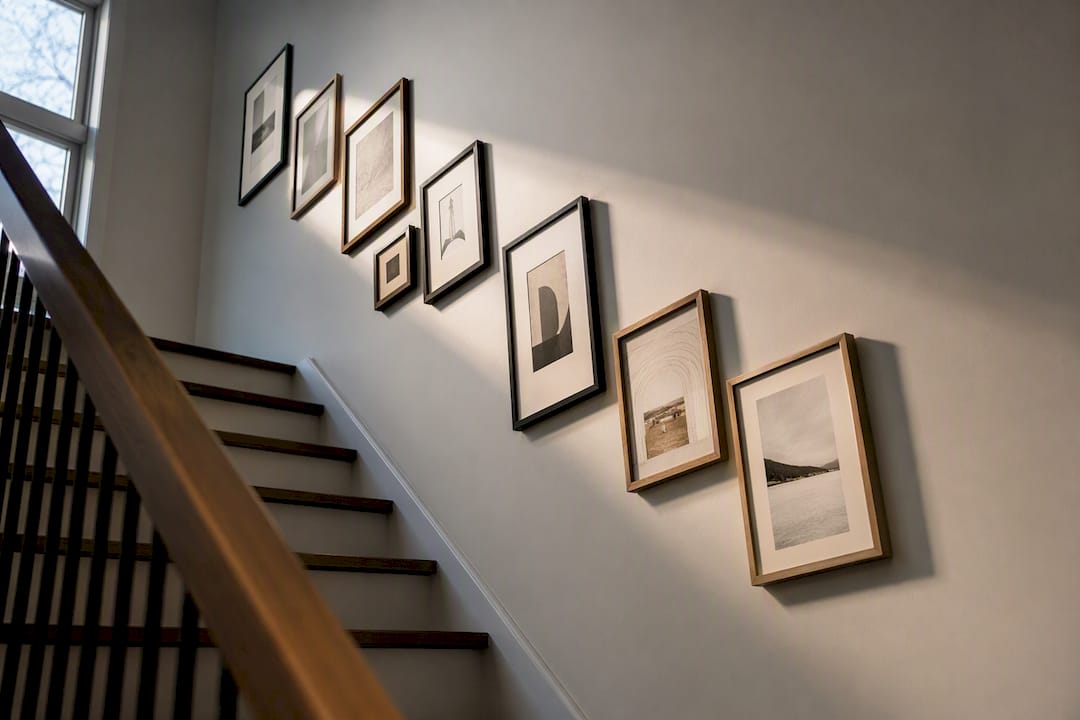
Follow the staircase slope with a taped centerline, start from an anchor frame, and keep consistent center-to-center spacing. Mock it on the floor first. Renters can skip the drywall anchors entirely and lean on adhesive tiles or magnetic frame systems that follow the same diagonal rules without a single hole.
TL;DR:
- Maintaining a consistent slope line based on measurements across multiple steps ensures the gallery wall flows naturally with the staircase.
- Using paper templates on the floor before hanging helps achieve balanced spacing and minimizes errors during installation.
- Four main layout patterns—single-line uniform, mixed sizes, parallel bands, and landing cluster—offer versatile options for different staircase configurations.
- Proper hardware choices, such as lightweight frames and damage-free mounting methods, are crucial for safety and ease, especially in high-traffic stairwells.
- Regular dusting, hardware checks, and seasonal art rotation help keep staircase galleries looking clean and well-maintained over time.
Table of Contents
- Staircase Gallery Wall Basics: Tools and a 6-Step Starter Plan
- How to Measure and Map Your Staircase Gallery Wall
- Four Layout Patterns That Work on Every Staircase
- Choosing Frames, Mats, and a Color Story for the Stairs
- Hanging Methods: From Floor Mockup to Finished Wall
- Spacing and Scale: Keeping the Gallery Wall Reading as One Piece
- Safety First: Clearance and Materials on a Busy Staircase
- Fixing the Stair-Stepped Look and Other Common Mistakes
- Keeping a Staircase Gallery Wall Clean and Looking Sharp
- A Curator’s Take on Rhythm and Restraint
- Where to Find More Staircase and Gallery Wall Inspiration
- Sources
- FAQ
Staircase Gallery Wall Basics: Tools and a 6-Step Starter Plan
Before any frame touches the wall, gather a tape measure, a level, painter’s tape, paper templates cut to your frame sizes, a marking pen, and your hanging hardware of choice, whether that’s picture hooks and drywall anchors or adhesive and magnetic tile systems.
From there, the workflow stays the same whether you’re hanging heirloom prints or a fresh set of framed photography:
- Measure the slope. Track the rise and run across several steps to find the stair angle.
- Tape the centerline. Run painter’s tape up the wall following that angle.
- Lay out paper templates. Trace each frame’s dimensions and arrange them on the floor first.
- Pick your anchor point. Choose the frame that will sit at the midpoint or focal spot.
- Hang the anchor frame. Mark its center on the tape and hang it first.
- Fill outward and fine-tune. Work symmetrically from the anchor, adjusting spacing as you go.
That sequence is the backbone of nearly every reliable stairway gallery wall, and it’s the same logic museum installers use when hanging a diagonal run: establish the line before you commit to a single nail hole.
How to Measure and Map Your Staircase Gallery Wall
Getting the geometry right up front is what separates a gallery wall that flows with the stairs from one that fights them. Measure the rise (vertical height) and run (horizontal depth) across at least four or five steps, not just one, since older staircases often have slight inconsistencies from step to step. Average those numbers to calculate the true slope angle, then use that angle to draw a centerline in painter’s tape running parallel to the handrail or the stair nosing.
A few placement details matter more than they seem:
- The lowest frame center typically sits a few inches above the nosing of its nearest step, never overlapping the tread.
- The highest frame center usually stops just shy of the upstairs landing or ceiling line, leaving breathing room.
- On long or split staircases, treat each straight run as its own diagonal segment rather than forcing one continuous line across a turn.
- Landings deserve separate treatment entirely. Since the wall goes flat there, anchor artwork to standard eye-level height (roughly 57 to 60 inches to the optical center) instead of continuing the slope logic.
This slope-based centerline approach, rather than copying the stair-step offsets of each tread, is what keeps the whole composition reading as one continuous gesture instead of a broken staircase pattern climbing the wall.
Four Layout Patterns That Work on Every Staircase
Not every staircase wants the same treatment, and the right pattern usually comes down to wall height, ceiling slope, and how much art you actually own. Four patterns show up again and again in well-executed installs, and each one solves a different problem.
- Single-line, identical sizes. One row of same-size frames following the centerline. This is the most forgiving option for a first attempt, since uniform spacing hides minor measurement errors better than any other pattern.
- Single-line, mixed sizes. Frames of varying dimensions along the same diagonal, unified by repeating two or three sizes throughout the run so a visual rhythm emerges instead of visual noise.
- Two-line stagger or band. A pair of parallel diagonal lines, ideal for tall stairwells with generous wall width. The key discipline here is keeping both lines mathematically parallel to the slope. One drifting line ruins the effect.
- Landing cluster plus ascending line. A denser grouping on the landing wall that acts as a visual anchor, then a lighter single-line run continuing up the stairs. Homes & Gardens notes this approach works especially well where the landing offers real flat wall space to work with.
The Decorholic’s layout classification system sorts these into broader categories, symmetric grid, salon-style eclectic, asymmetric cluster, and staircase diagonal, and matches each to recommended frame counts. That’s a useful cross-check once you’ve picked a direction, before you commit to hardware.
Choosing Frames, Mats, and a Color Story for the Stairs
Frame choice on a staircase carries more weight than on a flat wall, because every piece is viewed at an angle and often from two different heights (looking up from the bottom, looking down from the top). A curated look comes from matching finishes and mat colors across the whole run: all black frames, all warm wood, all thin brass. An eclectic feel comes from intentionally mixing finishes but tying them together with one repeated element, usually mat color or a shared accent hue.
- Repeat one frame size at least three times across the layout to create visual rhythm rather than randomness.
- Favor low-profile frames or acrylic glazing in high-traffic stair zones, where anything bulky or reflective becomes a bump-and-break risk.
- Build a color strategy before you shop: black-and-white photography, warm neutral mats, or a single accent color threading through otherwise varied artwork all unify a mixed collection.
If you’re sourcing frames and prints for the first time, Art in Lifestyle’s gallery wall roundup has curated examples worth studying before you buy.
Hanging Methods: From Floor Mockup to Finished Wall
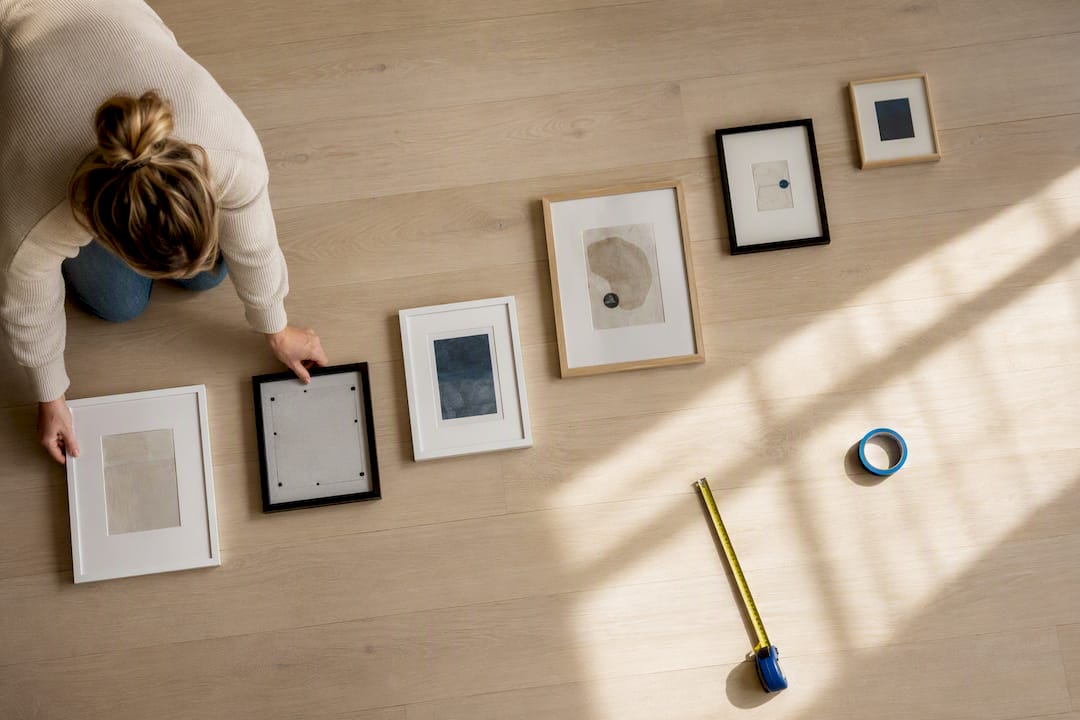
Skip the wall entirely for the first pass by following practical advice on how to style media wall for a better room from Finest Furniture. Architectural Digest recommends laying the whole composition out on the floor first, using the actual frames or paper templates cut to their exact dimensions, so you can rearrange freely before a single hook goes into drywall.
- Lay templates or frames on the floor in your chosen pattern and adjust until the spacing and balance feel right.
- Transfer that layout to the wall using painter’s tape, marking each frame’s exact center point along your slope line.
- Hang your anchor frame first, either at the run’s midpoint or at the landing focal spot, and confirm it sits level.
- Work outward from the anchor in both directions, hanging one frame, then re-checking the tape marks before the next.
- Fine-tune spacing as you go rather than committing every hole up front.
Hardware choice depends on how permanent you want this to be. Standard picture hooks and drywall anchors handle most framed pieces well and hold the most weight. Adhesive strips and magnetic tile systems, the backbone of many renter-friendly stairway installs, skip the holes entirely but carry lower weight limits, so check the manufacturer’s rating against your frame’s actual weight before trusting it on a stairwell.
Pro Tip: Photograph your floor mockup from directly above before you tape anything to the wall. That photo becomes your reference during installation, so you’re not relying on memory when you’re three frames up a ladder.
Spacing and Scale: Keeping the Gallery Wall Reading as One Piece
Measure center-to-center, not edge-to-edge. Two frames of different sizes can share identical edge gaps and still look misaligned, because their visual weight sits at different points. Center-to-center measurement stays consistent regardless of frame size, which is why it holds up better across a mixed-size run.
- A standard edge gap of 2 to 3 inches between frames translates to different center-to-center distances depending on how large each frame is, so calculate the actual center points rather than eyeballing the gaps.
- On a landing wall, aim to span roughly two-thirds of the available horizontal wall space with your cluster. Anything wider looks like it’s spilling off the edges; anything narrower looks stranded.
- Resist the urge to fill every inch with a staircase. A typical 12 to 13 step flight comfortably holds around 12 frames using standard tile counts; smaller staircases often work best with just 6 to 8 pieces, and larger runs can support 16 to 20 or more, depending on frame size. More than that and the wall starts to feel cluttered rather than curated.
Safety First: Clearance and Materials on a Busy Staircase
Stairs are high-traffic, and a gallery wall there needs different safety math than one in a hallway. Keep the lowest frame’s bottom edge at least 4 to 6 inches above the nearest stair nosing, and make sure no frame projects far enough to catch a shoulder or a bag on the way past.
- Check both handrail clearance and headroom on the way up and down before finalizing any frame position.
- Skip heavy glass in tight stair passages. Acrylic glazing or lightweight framed prints with secure anchors carry far less risk if something is brushed or bumped.
- Walk the stairs with a helper carrying a bag or box, mimicking how the space actually gets used, to catch snag points before they become a problem.
Fixing the Stair-Stepped Look and Other Common Mistakes
The most common failure mode is what’s often called the stair-stepped anti-pattern: frames placed to echo each individual step’s offset rather than following one continuous diagonal. It reads as choppy and mechanical instead of intentional.
- Re-check your taped centerline first. Most misalignment traces back to a line that wasn’t actually parallel to the slope.
- Measure horizontally between centers, not diagonally, to confirm consistent spacing across the run.
- Adjust with repositionable frames or tiles where possible rather than repatching drywall.
- Accept minor visual offsets under an inch. They’re rarely noticeable at a walking pace. For large or heavy pieces that are already hung and clearly off, it’s worth calling in a professional installer rather than risking a fall off a ladder on stairs.
Keeping a Staircase Gallery Wall Clean and Looking Sharp
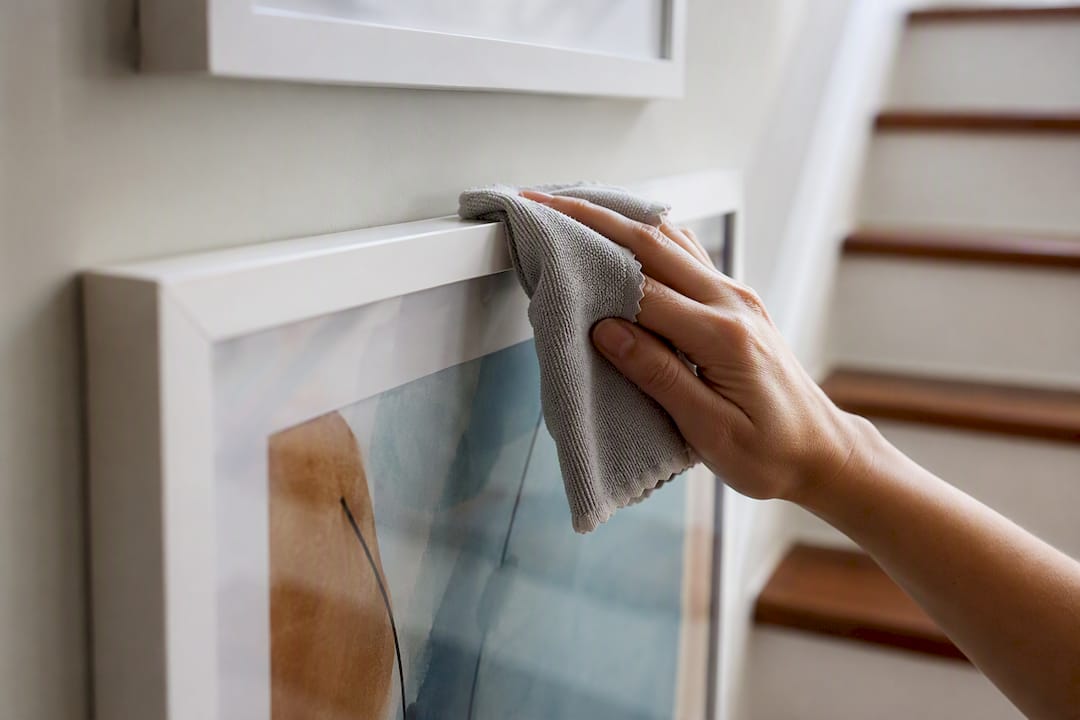
Staircase art collects more dust than gallery walls elsewhere in the house, mostly because stairwells generate airflow every time someone walks through, and that moving air carries dust straight onto glass and frames. A soft microfiber cloth, used dry on glass and acrylic, handles routine dust without streaking. Save glass cleaner for a monthly deeper pass, and spray it onto the cloth rather than directly onto the frame, since overspray can seep behind matting and cause discoloration over time.
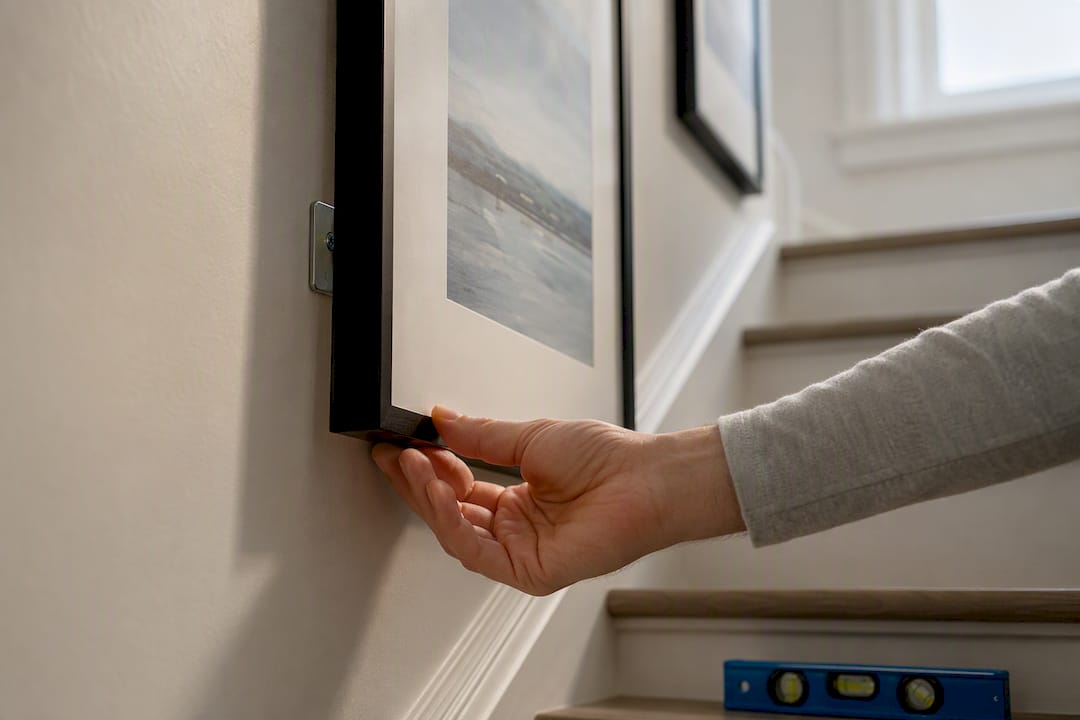
Check hanging hardware every few months, particularly on adhesive or magnetic systems, since temperature swings and humidity changes common near stairwells can gradually weaken bonds. A quick tug test on each piece takes seconds and catches a loosening mount before it becomes a dropped frame.
Rotate artwork seasonally if your collection includes anything light-sensitive, since staircases near windows or skylights often get more direct sun exposure than people expect. Wipe down frame edges and mat borders with a dry cloth during the same pass, since dust settles into those crevices faster than on flat glass. If you’re using acrylic glazing in the high-traffic zones we mentioned earlier, a light dusting with an anti-static cloth keeps static from attracting even more dust between cleanings.
A Curator’s Take on Rhythm and Restraint
Rules exist to be bent once you understand why they work. The centerline, the repeated sizes, the two-thirds landing rule: none of that is about rigidity. It’s about giving your eye a rhythm to follow so the personal, mismatched pieces you actually love (the flea market find, the kid’s drawing, the travel photo) get to breathe instead of competing for attention. Repeat one size, one frame color, or one mat three times, and suddenly the wildest mix of art on your stairs looks curated rather than accidental.
— Nealda
Where to Find More Staircase and Gallery Wall Inspiration
Once your layout is mapped, the next step is usually sourcing the right pieces to fill it. Art in Lifestyle’s gallery wall idea roundup is the fastest way to see real layouts translated into shoppable inspiration, whether you’re after black-and-white photography for a single-line run or a mixed color story for a landing cluster.

If you’re renting and want a damage-free path to the same look, our DIY home decor ideas roundup covers inexpensive mounting and framing techniques built for exactly that situation. And if you’re still deciding what art actually goes on the wall, pieces like Antony Squizzato’s modernist Cubist work or Kat Yew’s abstract line art both hold up well as anchor pieces in a diagonal run, giving you a strong focal point to build the rest of the layout around. Start with the anchor piece, then let the rest of the staircase follow from there.
Sources
- Gallery wall ideas — Architectural Digest
- Stairway gallery wall: Create a stunning display — Mixtiles blog
- How to decorate staircase walls — Homes & Gardens
- Gallery wall layout guide — The Decorholic
FAQ
How Do You Do a Gallery Wall on a Staircase?
Measure the stair’s rise and run, tape a centerline that follows that slope, hang an anchor frame at the midpoint, and fill outward with consistent center-to-center spacing.
Are Gallery Walls Out of Style in 2026?
No. Gallery walls remain a staple design feature, with the current shift favoring more curated, rhythm-based layouts (repeated sizes and unified color stories) over dense, random salon-style clusters.
What Is the Rule for Gallery Walls?
The most reliable rule is consistent spacing measured center-to-center, typically translating from a 2 to 3 inch edge gap, combined with a single unifying element like frame color or mat style across the whole arrangement.
What Is the Latest Staircase Trend?
Landing clusters paired with a lighter ascending single-line run are gaining traction, since they give the eye a strong focal point at the landing before leading it up the stairs in a cleaner, less cluttered diagonal.