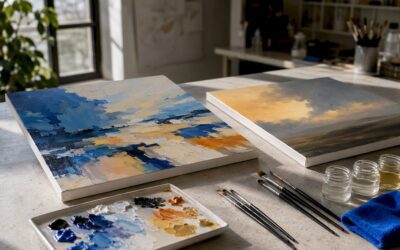
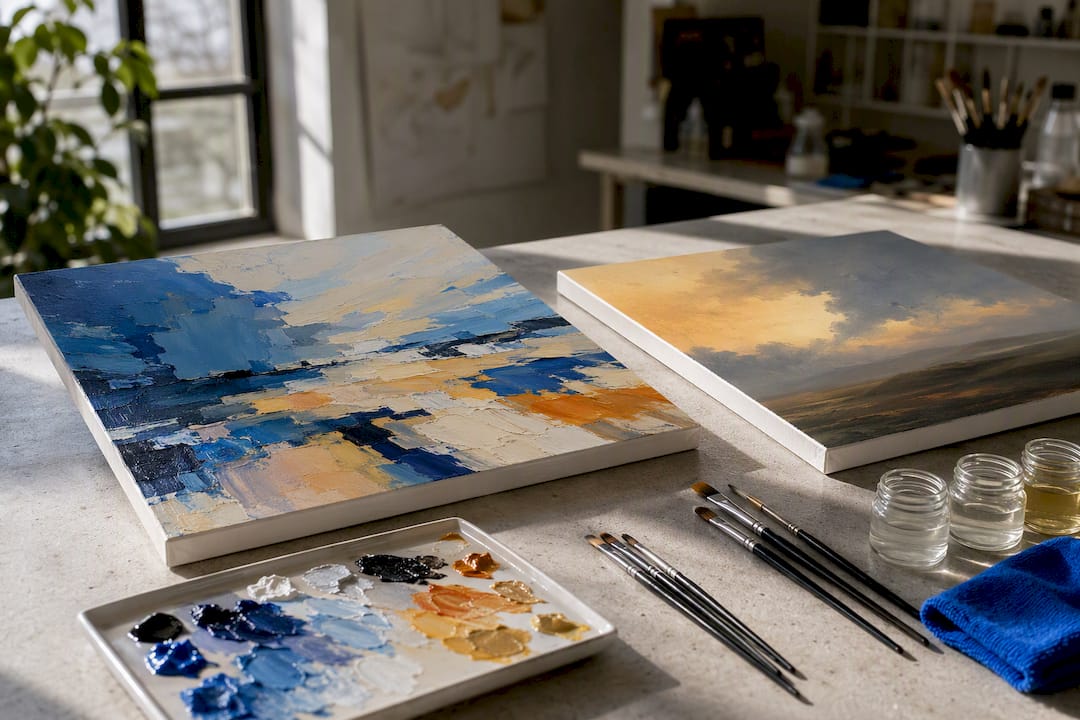
If you need fast drying, easy cleanup, and a small home-studio fit, acrylic is the better match; if you want long open time, deep glazing, and a classic glossy finish and can manage solvents responsibly, oil rewards patience. Most beginners find acrylic the gentler entry point, since it forgives quick corrections and cleans up with water. Once you feel steady with color mixing and brushwork, oil becomes worth exploring, particularly if your work is destined for framed display in a home or gallery setting.
TL;DR:
- Acrylic dries in under 30 minutes, making quick decision-making necessary unless using slow-drying formulations, while oil can take 48 hours or more to cure completely.
- Water-based cleanup makes acrylic safer for home studios, whereas oil requires solvents like mineral spirits that pose inhalation and fire risks in enclosed spaces.
- Oil’s rich gloss and smoothing qualities support glazing and atmospheric effects, but it demands careful layering to avoid cracking, unlike acrylic which dries flatter and is more surface-stable.
- Acrylic’s surface tends to become matte and shifts in color as it dries, requiring adjustments, whereas oil maintains consistent color and gloss from wet to dry.
- Long-term preservation favors oil for its stable, proven aging behavior, while acrylic’s newer chemistry makes its aging process less predictable and potentially more vulnerable to dirt and cleaning issues.
Table of Contents
- Quick comparison: acrylic vs oil at a glance
- Why acrylic dries fast and oil takes its time
- How each medium handles color, gloss, and texture
- Keeping your studio safe: cleanup and ventilation
- Choosing the right surface and primer for your paint
- How each painting ages and what that means for care
- A decision checklist for picking your medium
- Building your first kit and keeping it in good shape
- A note on choosing paint for work meant to live in a home
- What the conventional advice gets wrong
- Shop curated supplies and decor-ready pieces
- Sources
- FAQ
Quick comparison: acrylic vs oil at a glance
Before unpacking the reasoning behind each recommendation, here is how the two mediums stack up on the factors that matter most to a new painter.
- Drying: acrylic dries through water evaporation and can be touch-dry in under 30 minutes, while oil cures through a slower oxidative process that often keeps the surface tacky for 48 hours or more.
- Working time: oil’s slow cure gives you hours to blend and rework a passage, while acrylic’s quick set demands faster decisions unless you add a retarder.
- Cleanup and safety: acrylic rinses out with soap and water, whereas traditional oil painting depends on solvents such as mineral spirits, which the Brandeis Environmental Health and Safety office flags for inhalation and flammability risks in enclosed spaces.
- Finish and texture: oil tends toward a richer, glossier surface with smoother blending, while acrylic often dries flatter or slightly matte unless you introduce a gloss medium.
- Starter cost: acrylic kits are generally simpler and cheaper to assemble since they skip solvents, extra rags, and specialized disposal containers.
Each of these differences has a cause worth understanding, since the chemistry behind drying and layering shapes almost every decision you will make at the easel.
Why acrylic dries fast and oil takes its time
The difference between these two mediums starts with how they dry, and that single fact ripples through nearly every technique decision you will make. Acrylic paint is a plastic pigment suspension in water. As the water evaporates, the acrylic polymer particles fuse into a flexible film, a process that can leave the surface touch-dry in under 30 minutes. Oil paint dries differently. Its binder, typically linseed or another drying oil, hardens through oxidative curing, a chemical reaction with oxygen in the air rather than simple evaporation. That reaction is slow, often leaving the surface tacky for 48 hours or longer, and full internal curing can continue for months.
That gap in drying speed defines the working experience of each medium. Oil gives you a long open time, the window during which paint stays workable on the canvas. You can blend a sky from pale blue to deep violet over an afternoon, softening edges and adjusting values without the paint setting up on you. Acrylic’s fast evaporation cuts that window short. Blending has to happen quickly, often within minutes, unless you extend the timeline with a retarder medium or work with slow-drying acrylic formulations designed for open blending.
Oil painting also carries a structural rule that acrylic does not need: fat over lean. “Fat” refers to paint with more oil content, and “lean” to paint thinned with more solvent. Because oil layers dry at different rates depending on their oil content, painting a lean layer over a fat one sets up a mismatch. The lower layer keeps flexing and shifting as it cures while the layer above it has already stiffened, and that tension is a documented cause of cracking and delamination over time, a concern conservators and oil painting instructors alike point to when explaining why paintings crack years after completion. The practical fix is straightforward: start each painting session leaner and add oil content in progressively fatter layers as you build up the surface. Acrylic paintings do not face this risk, since each dried layer is chemically stable and does not continue reacting with the layers around it.
If you choose oil, a few tools make the fat-over-lean discipline easier to follow. Alkyd mediums speed up drying time between layers while still respecting the oil-content gradient, and they are a common bridge for painters who want oil’s blending quality without oil’s full waiting period. If you choose acrylic and want oil-like open time, a retarder added to your palette slows evaporation enough to blend soft transitions, and slow-drying “open” acrylic lines are formulated for the same purpose. Neither substitution changes the underlying chemistry described above, so plan your layering accordingly rather than assuming either medium is infinitely forgiving.
How each medium handles color, gloss, and texture
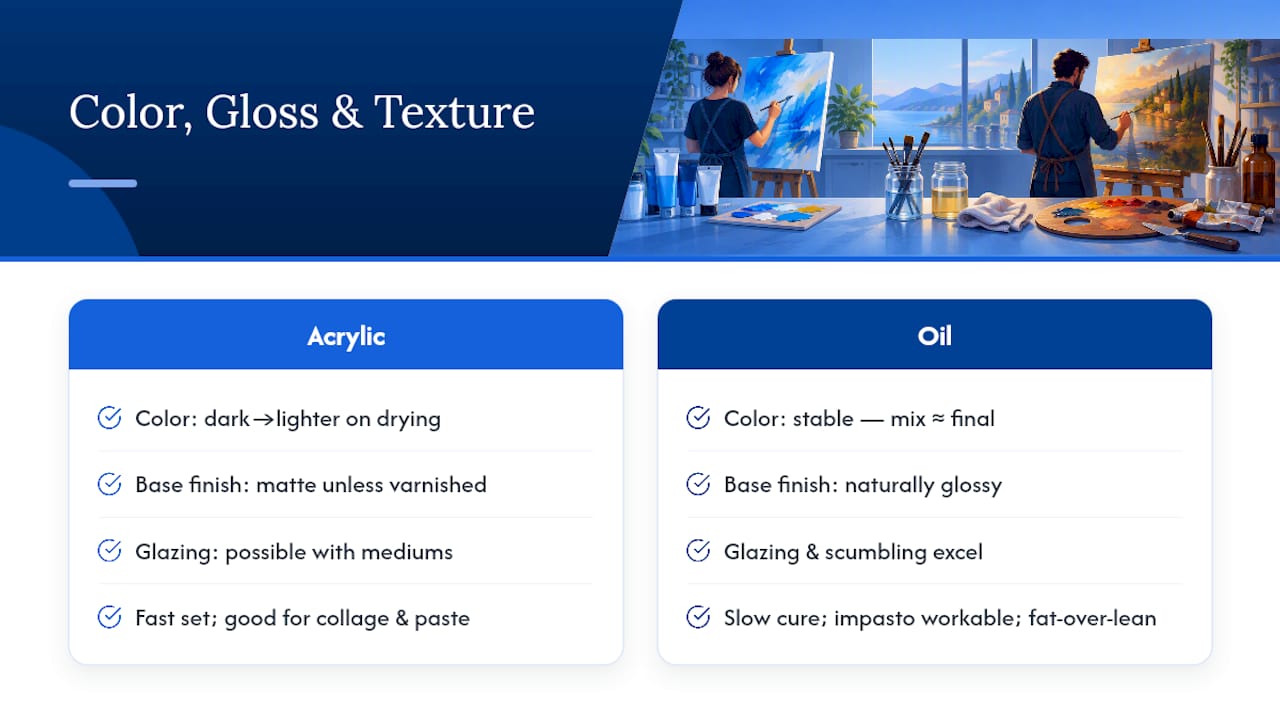
The visual result you are chasing should weigh almost as heavily as convenience when you are picking a medium. Oil’s binder is naturally more refractive, which is part of why oil paintings tend to read as richer and glossier straight off the palette. That same quality makes oil the medium of choice for glazing, the technique of laying thin, translucent layers of color over a dried underpainting to build luminous depth, and for scumbling, where a dry, opaque layer is dragged lightly over a textured surface to create broken, atmospheric color. Both techniques depend on oil’s slow dry time and smooth blend, and they are difficult to replicate convincingly in acrylic.
Acrylic, by contrast, often dries to a flatter or slightly “chalky” surface unless you modify it. Gloss mediums, glazing liquids, and varnishes correct that flatness and can push acrylic toward a wet, saturated look closer to oil, but the base dry finish without additives tends to sit matte. Acrylic also shifts in value as it dries, going from a darker, wetter appearance on the palette to a lighter, more matte one once the water evaporates, which means color mixing decisions made wet on the palette need a mental adjustment for how they will settle. Oil does not undergo that same dry-down shift, so what you mix is closer to what you get.
Texture is where the two mediums diverge most visibly. Acrylic’s fast set makes it well suited to layered, mixed-media work: collage elements, modeling paste, and heavy body formulations that hold a palette knife’s texture without slumping. Oil’s slow cure supports thick impasto too, but the paint stays workable long enough that heavy passages can shift or crack if not handled with fat-over-lean discipline. If your project leans toward flat, graphic color fields or fast experimental layering, acrylic tends to serve better. If it leans toward classical modeling, soft transitions, and a traditional glossy surface meant for framed display, oil remains the stronger choice, a point worth remembering if the finished piece is headed for a gallery wall or a living room feature spot.
Keeping your studio safe: cleanup and ventilation
Safety is where the two mediums genuinely part ways, and it deserves a plain answer rather than a hedge. Acrylic is generally the lower-risk option for a home studio because brushes, palettes, and hands clean up with water and a mild soap, with no solvent required at any stage. Oil painting, in its traditional form, depends on solvents like mineral spirits for thinning paint and cleaning brushes, and the Brandeis Environmental Health and Safety office notes that these solvents carry both inhalation and flammability risks, particularly in a small room without strong airflow.
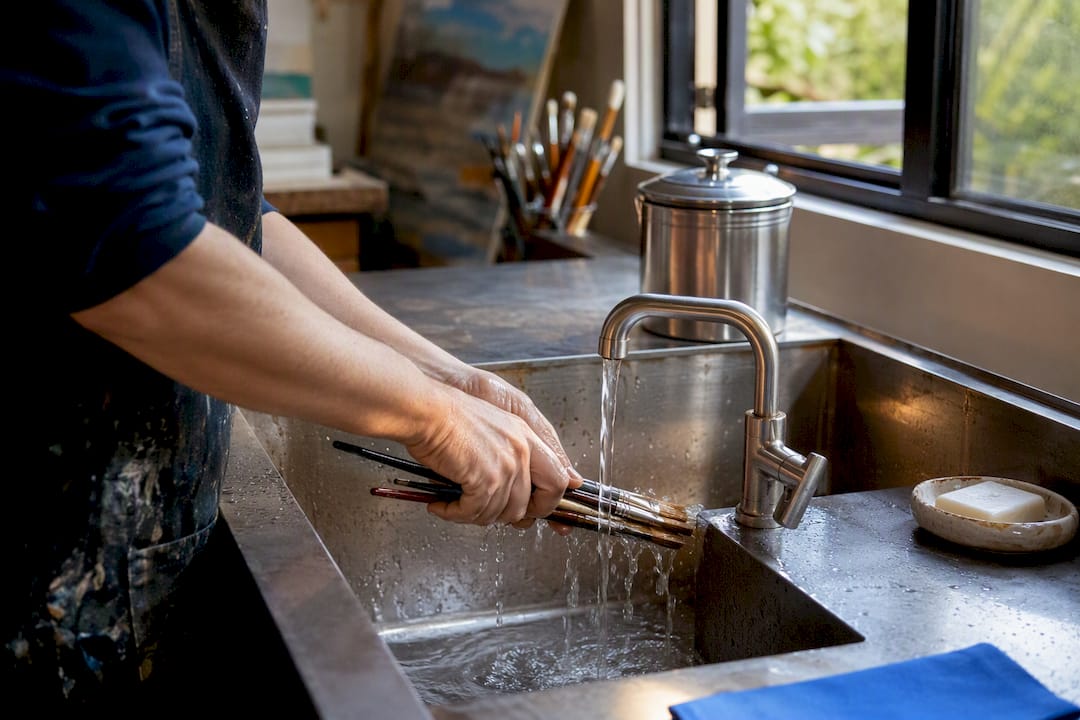
Pigment choice matters in both mediums. Cadmium and cobalt pigments, common in both acrylic and oil lines for their intensity, carry handling cautions regardless of the binder they are mixed into, and painting safety guidance from Princeton’s Environmental Health and Safety office recommends avoiding ingestion, washing hands after use, and storing pigments and solvents away from food preparation areas.
A few adjustments make either medium safer to work with at home:
- Store solvents like mineral spirits in sealed, labeled containers away from heat sources and open flames.
- Choose odorless mineral spirits or water-mixable oil paints if ventilation is limited but you still want oil’s working properties.
- Let solvent-soaked rags dry flat outdoors or in a metal container before disposal, since bunched oily rags can pose a fire risk.
- Wash hands and work surfaces after handling cadmium or cobalt pigments in either medium.
Pro Tip: A small box fan pointed out an open window, run whenever painting with solvents, moves far more air than most people expect and costs much less than a dedicated ventilation system.
Choosing the right surface and primer for your paint
Getting the support and ground right prevents problems that show up months or years after a painting is finished, and the fixes are simple if you know them in advance. Both acrylic and oil can be worked on stretched canvas, wood panel, or heavy paper, but the priming layer beneath each paint needs to match. Acrylic gesso is the standard ground for acrylic painting and works fine under oil too, but only once it has fully cured, since painting oil onto a still-soft acrylic ground invites adhesion problems.
The reverse pairing carries a documented risk worth knowing before you commit to a support. Research on the interface between acrylic grounds and oil paint films has identified early degradation mechanisms, including cracking and delamination, when oil is layered onto certain acrylic-primed surfaces. The concern is not that the pairing always fails, but that the interaction between the two chemistries is less predictable than an all-oil or all-acrylic system, so recent conservation research continues to focus specifically on that boundary layer. The safer practice is to use an oil-based ground, sometimes called an oil primer, under oil paint, and to reserve acrylic gesso for acrylic-only or mixed-media work where oil never touches it directly.
Surface texture also affects technique. A smoother, finely woven canvas or gessoed panel suits detailed glazing work in oil, while a slightly toothier canvas holds heavier acrylic texture and palette knife work more securely. Paper works for both mediums in a pinch, though it should be sized or primed first, since raw paper absorbs oil and can yellow or weaken over time. Whichever support you choose, apply primer in thin, even coats and let each one dry fully before adding the next, a small habit that saves you from surface problems long before conservation ever becomes a conversation.
How each painting ages and what that means for care
Longevity is where the newer medium still has some catching up to do, and it is worth knowing that going in rather than discovering it later. Oil painting has centuries of conservation history behind it, with well-documented failure modes: cracking from fat-over-lean violations, yellowing of the oil binder over time, and in some cases metal soap formation, a chemical reaction between certain pigments and the oil binder that can create surface disruptions in older paintings. Conservators know how to treat these issues because they have been studying oil paintings for hundreds of years.
Acrylic paint is a much newer material, and its aging behavior is still being mapped. Conservation research on acrylic emulsion paints shows that acrylic films tend to be softer and more porous than oil films, which means they can trap dirt and grime more readily, and cleaning methods that work safely on oil paintings can strip or damage acrylic surfaces instead. Museum guidance is direct on this point: many standard cleaning techniques developed for oil are simply not safe for acrylic.
One documented figure captures the practical gap between the two mediums well: acrylic paint can become touch-dry in under 30 minutes, while oil paint often needs 48 hours or more to reach the same stage. That speed difference is part of why acrylic’s long-term aging patterns are harder to predict. The medium has not had as much time in museum collections to reveal its slow failure points the way oil has.
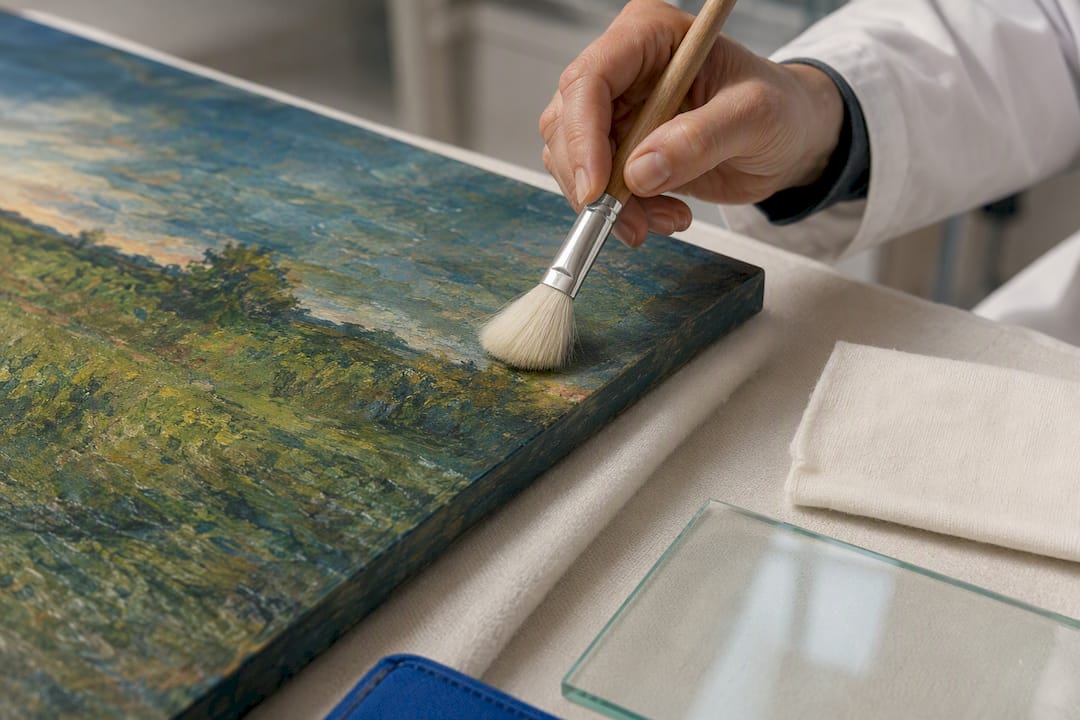
None of this should discourage you from either medium, but it does argue for sensible preventive care. Store finished paintings away from direct sunlight and humidity swings, which stress both oil and acrylic films over time. Frame with glazing that blocks ultraviolet light if a piece will hang in a bright room, and dust gently with a soft, dry brush rather than a damp cloth, since museum guidance on acrylic care specifically warns against wet cleaning methods that can damage acrylic surfaces. If a painting, oil or acrylic, develops visible cracking, flaking, or a cloudy surface film, that is the point to consult a professional conservator rather than attempting a home fix, since amateur cleaning attempts are a common source of avoidable damage.
A decision checklist for picking your medium
Rather than weighing every factor at once, work through these questions in order and let each answer narrow your choice.
- How much time do you have between sessions? If you paint in short, frequent bursts, acrylic’s fast dry time works with your schedule; if you prefer long, uninterrupted sessions, oil’s open time suits you better.
- What does your studio ventilation look like? A small room with no window or fan points toward acrylic or water-mixable oils rather than traditional solvent-based oil painting.
- What finish are you after? A glossy, richly blended surface favors oil; a flatter, graphic, or textured surface favors acrylic.
- What is your budget for a starter setup? Acrylic generally costs less to start, since it skips solvents and specialized rag disposal.
- Where will the finished piece live? Work headed for framed display in a bright room benefits from oil’s classic glazing depth, while fast, experimental pieces for casual display often suit acrylic’s quicker turnaround.
A few situations are worth flagging as outright red flags rather than trade-offs to manage. Working with oil solvents in a room with no ventilation at all is a genuine hazard, not a minor inconvenience, and deserves a fix before you open a can of mineral spirits. Painting oil directly over a fresh, uncured acrylic ground is another one to avoid, given the documented cracking and delamination risk at that interface.
If you are still unsure after running through these questions, buy a small canvas panel of each medium and spend an afternoon testing both rather than committing to a full kit for either one. A ten-dollar experiment saves you from a much more expensive mismatch later.
Building your first kit and keeping it in good shape
Once you have picked a direction, the shopping list is shorter than it looks. For acrylic, you need a handful of synthetic brushes, since natural hair brushes are built for oil’s different viscosity, a stay-wet palette or a simple plastic tray, a few tubes of student-grade paint in primary colors plus white and black, and a bottle of matte or gloss medium if you want to adjust the finish. For oil, plan on natural bristle brushes for underpainting and softer synthetic or sable brushes for blending, a metal or glass palette that is easy to scrape clean, a starter set of student-grade oil colors, and a small bottle of odorless mineral spirits or a linseed oil medium for thinning.
- Spend more on a few good brushes than on a large set of cheap ones, since bristle quality affects control more than paint brand does at the beginner stage.
- Buy student-grade paint to start in both mediums, since the pigment load difference between student and professional lines matters less until your technique catches up.
- Rinse acrylic brushes immediately after use, since dried acrylic on bristles is difficult to remove.
- Clean oil brushes with solvent first, then finish with soap and water to strip residual oil and extend brush life.
Store both paint types away from extreme heat or cold, and keep oil rags in a sealed metal container between sessions rather than a plastic bag. As your comfort grows, a short in-person workshop or a well-reviewed online course on either medium will teach you more about brushwork and color mixing in a weekend than months of solo trial and error.
A note on choosing paint for work meant to live in a home
When a piece is destined for a wall rather than a portfolio review, the medium decision should factor in how the finished work will age in a living space, not just how it feels to paint. A canvas hanging near a sunny window or above a radiator faces different stresses than one stored flat in a drawer, and both acrylic and oil respond differently to heat, humidity, and light over years of display. Framing choices, wall placement, and even the lighting you choose to showcase it all interact with the surface qualities each medium produces, glossy oil catching more reflected light, matte acrylic reading more evenly under directional spots.
For readers assembling a gallery wall or shopping for finished pieces rather than painting their own, browsing curated Store Finds selections is a straightforward way to see how different mediums read once framed and hung.
What the conventional advice gets wrong
Most beginner guides frame acrylic versus oil as a simple convenience trade-off: fast and easy against slow and rich. That framing undersells the real decision, which is about how much structural discipline you are willing to build into your process. Oil’s fat-over-lean rule is not a technicality; it is the difference between a painting that survives decades and one that cracks apart. Acrylic’s ease of use hides its own discipline gap, since conservators are still working out how to clean and preserve it safely, which means the paintings you make today may need gentler care than you expect for the next fifty years.
The advice to just “pick whichever feels easier” misses that both mediums reward patience differently. Oil rewards patience in the moment, slow blending, careful layering. Acrylic rewards patience afterward, in how you store and protect a medium science hasn’t fully mapped yet. Start with the one that matches your temperament, but take the long-term care of either seriously from your very first canvas.
— Nealda
Shop curated supplies and decor-ready pieces
Once you know which medium fits your process, the next question is usually where to find quality materials and finished pieces without wading through endless options. A Store Finds page gathers curated categories built for moments like these, whether stocking a first palette or shopping for a framed piece to complete a room.

- Curated categories cover beginner-friendly supplies alongside decor-ready artworks, so you are not comparing dozens of near-identical listings on your own.
- Selections are organized by project type, which helps when you know the look you want but not the exact product name.
- Compare product specifications and any manufacturer safety notes on each item’s own listing before buying, since formulations vary by brand.
Browse the Store Finds collection to see what fits your next project, whether that is a first acrylic set or a finished oil piece ready to hang.
Sources
For readers who want to go deeper on the chemistry and conservation science behind this comparison, these are the references that shaped the guidance above.
- Caring for Acrylic Paintings | Museum Conservation Institute
- Artist best management practices (Brandeis EHS)
- Early degradation mechanisms at the interface between acrylic grounds and oil paint films | npj Heritage Science
FAQ
Did Bob Ross use acrylic or oil paint?
Bob Ross painted with oils, using a wet-on-wet technique that let him blend colors quickly without waiting between layers. He often recommended odorless mineral spirits for cleaning brushes, a detail that reflects oil painting’s typical reliance on solvents.
Why might an artist prefer oil over acrylic?
Oil’s slow, oxidative cure gives painters a long open time for blending, glazing, and softening edges that acrylic’s fast evaporation does not allow. Many painters also prefer oil’s richer, glossier finish, though it involves more complex layering rules and solvent handling than acrylic does.
How can you tell if a painting is oil or acrylic?
Oil paintings tend to have a glossier, richer surface sheen and smoother blended transitions, while acrylic paintings often look flatter or slightly matte unless a gloss medium was used. Texture can also hint at the medium, since acrylic’s fast set supports crisp layered edges, while oil’s slow cure allows softer blending between colors.
What are the main disadvantages of acrylic paint?
Acrylic’s fast drying time limits blending compared with oil, and its finish can look flat or chalky without added mediums. Conservation-wise, acrylic films are softer and more porous than oil films, which means they can trap dirt more easily and require gentler, still-developing cleaning methods.