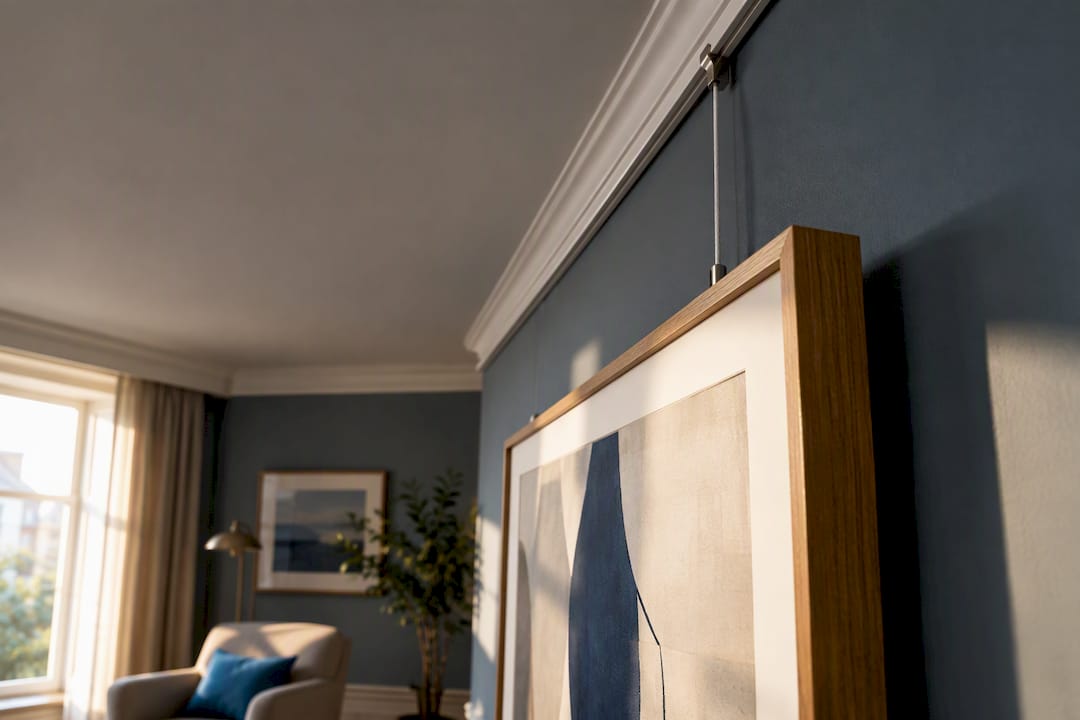
Use an existing rail with hooks and cord for flexible, damage-free hanging, and reserve a modern metal track for spaces where you rearrange art often and want gallery-grade adjustability. Before committing to either, check the wall substrate behind the rail and estimate the weight of your piece. Start placement decisions from the rule of 57, then adjust for furniture and room flow.
TL;DR:
- The choice of hardware and attachment points should be based on the weight of the artwork and the wall substrate conditions to ensure safety and stability.
- Distributing weight across two or more hang points reduces strain on hooks and brackets, especially for larger or heavier pieces.
- The versatility of picture rails makes them ideal for frequent rearrangements, but heavy or permanent placements are better mounted directly into solid studs.
- Proper placement follows the rule of 57, positioning the artwork’s visual center at about 57 inches from the floor unless furniture height suggests adjusting upward or downward.
- Installing a picture rail involves measuring, dry-fitting, and securing with adhesive and nails, with care taken to reinforce weak surfaces or older plaster walls.
Table of Contents
- Molding rail or metal track: which system are you working with?
- Hanging from an existing rail: hardware and steps that work
- Installing picture rail molding or a track system
- How much weight can a picture rail actually hold?
- Getting placement right: the rule of 57 and beyond
- Layouts that make the most of a picture rail
- How Art in Lifestyle approaches art placement
- Choosing between a rail and mounting art directly
- Find hanging hardware and styling accessories in Store Finds
- Sources
- FAQ
Molding rail or metal track: which system are you working with?
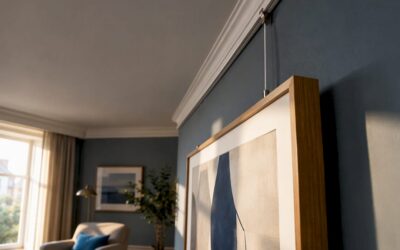
Traditional picture rail molding is a wood or plaster profile fixed near the ceiling line, with a lipped edge that catches a hook. Modern metal tracks are slimmer, often aluminum, and use a sliding hook-and-cord mechanism instead of a fixed lip, so pieces slide along the track rather than hanging from one spot.
Molding tends to read as an architectural detail, especially painted in a contrast color or finished with decorative finials at the corners, highlighting ideas from modern elegance interior decor examples that enhance how finishes can change room mood. Metal track disappears visually, which suits minimal or contemporary rooms where the wall itself stays the focus.
- Molding: more visual character, but a bigger installation project involving cutting, adhesive, and paint.
- Metal track: faster to install and easier to adjust later, though it carries a lower architectural presence.
- Cost and flexibility: molding costs more upfront and commits you to a look; track costs less per foot and lets you slide pieces without new holes.
You can usually tell the two apart by profile alone: molding has visible trim depth and a rounded or beveled edge, while track sits nearly flush against the wall.
Hanging from an existing rail: hardware and steps that work
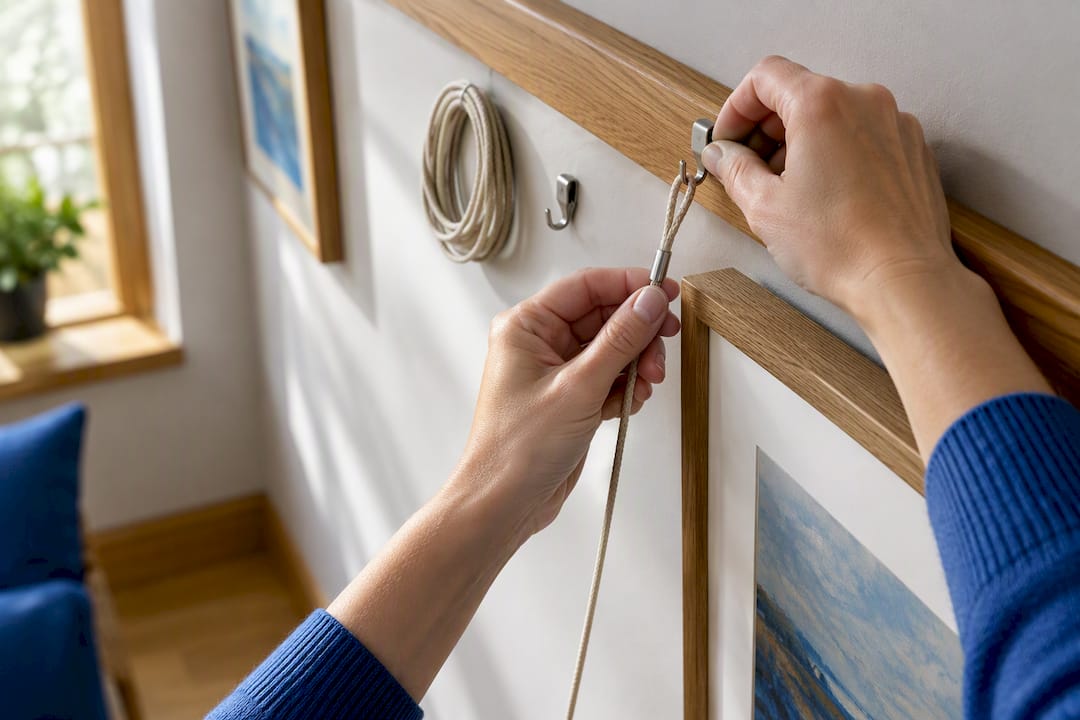
Once a rail is in place, the job is choosing the right hardware and getting the piece level. Rail hooks (sometimes called sash hooks) grip the rail’s lip and hold a cord or chain. S-hooks work for lightweight pieces and quick swaps. Braided cord suits mid-weight frames and looks tidy in a vertical run, while stainless cable or chain carries heavier mirrors and larger canvases with a sturdier look.
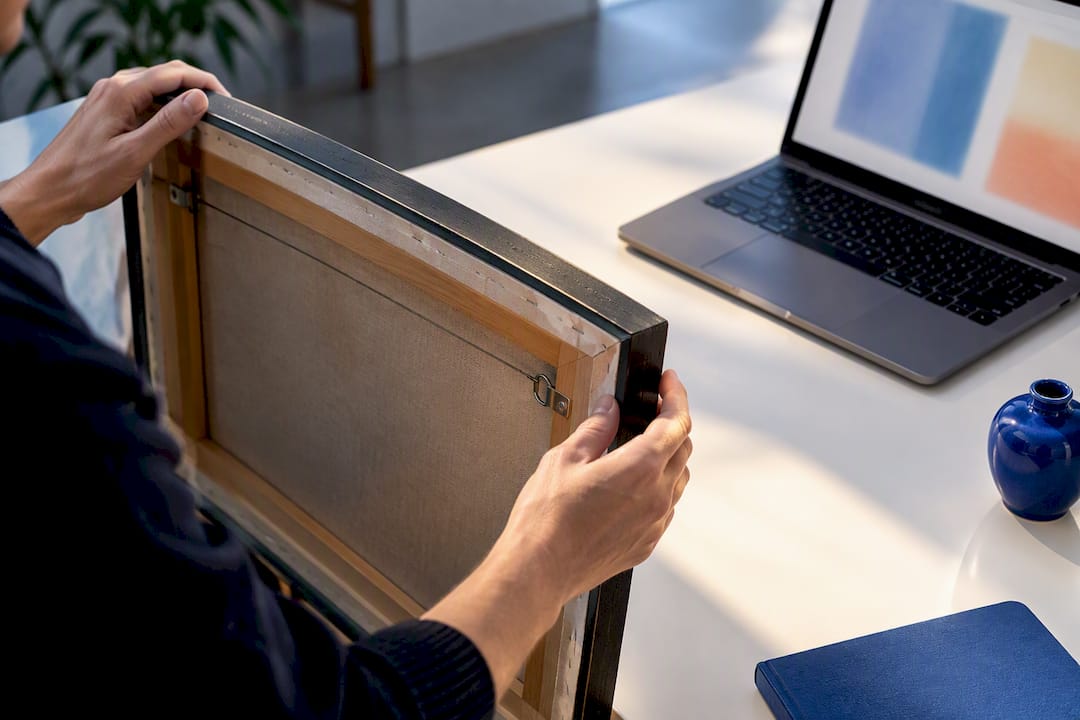
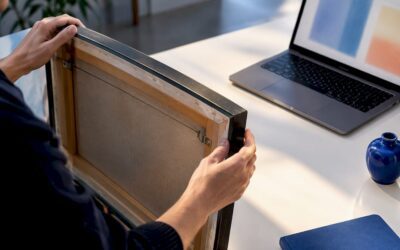
On the frame side, check whether you have D-rings, screw eyes, or a fixed wire. D-rings mounted a third of the way down the frame give the most control over tilt, while a loose wire can shift and throw off your leveling.
- Attach your rail hook and let the cord or chain hang loose.
- Mark the wall lightly where you want the piece’s visual center, using the rule of 57 as your starting point.
- Clip the frame’s D-rings or wire to the cord, then adjust the cord length until the center lines up with your mark.
- Check level with a small spirit level, then step back and view from across the room.
- Give the frame a gentle push test to confirm the hook seats fully on the rail and the piece doesn’t slide.
Pro Tip: Keep a few extra rail hooks on hand in different finishes so you can match brass, black, or nickel hardware without an extra trip to the store.
Installing picture rail molding or a track system
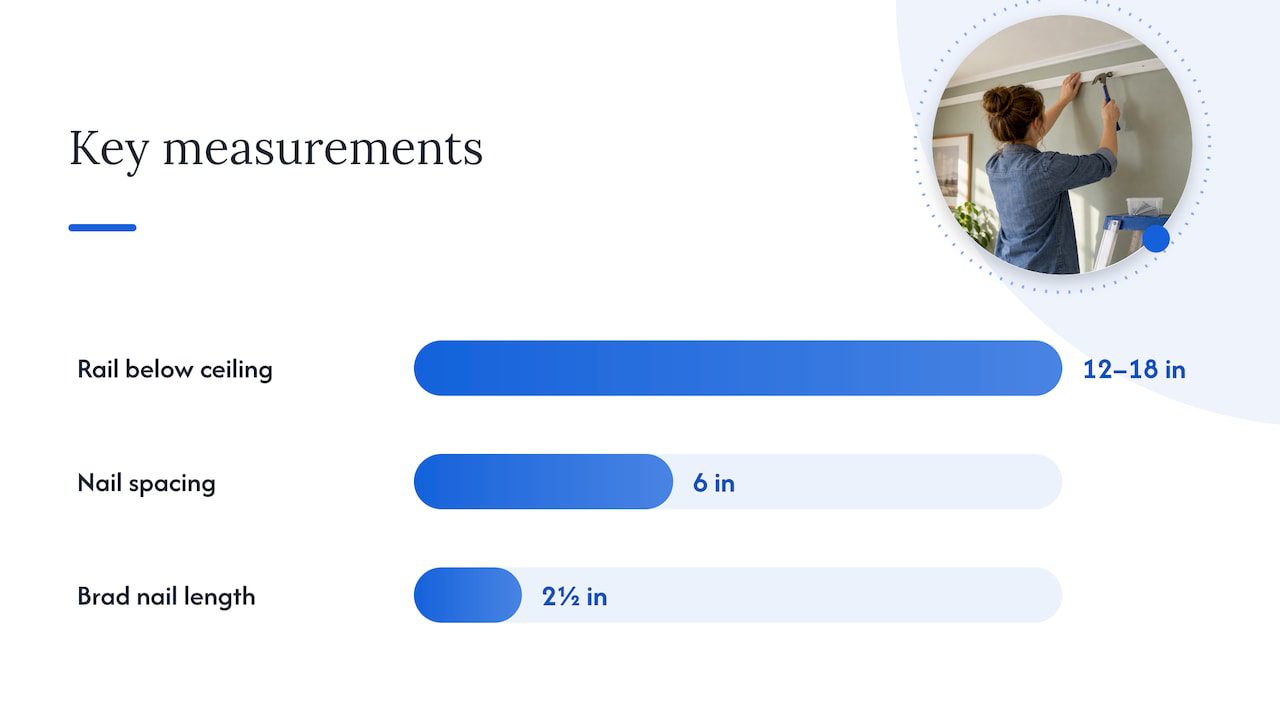
Whether you’re adding classic molding or a modern track, the sequence is similar: measure, dry-fit, fasten, finish. HGTV’s installation guide recommends positioning the rail 12 to 18 inches below the ceiling, then cutting and dry-fitting each length before any adhesive goes on the wall.
Tools and materials: miter saw or miter box, stud finder, level, construction adhesive, brad nailer or hammer, 2½ inch brad nails, caulk, paint, and a tape measure.
- Measure the wall run and mark your rail height consistently around the room.
- Cut lengths with mitered corners where walls meet, then dry-fit before fastening anything.
- Apply construction adhesive to the back of the molding, then press into place.
- Drive brad nails roughly every 6 inches to mechanically secure the piece while the adhesive cures, following HGTV’s spacing guidance.
- Fill nail holes and miter seams with caulk, sand lightly, then paint.
Fastening into wood studs gives the most reliable hold. Plaster walls need care since brad nails can crack the surface, and masonry requires masonry-rated anchors rather than standard nails. When you’re unsure about the wall behind the rail, or you’re installing in an older plaster home, it’s worth having a local installer confirm the substrate before you commit to adhesive and nails.
How much weight can a picture rail actually hold?
A rail’s listed capacity only means something when the mounting behind it is solid. A hook rated for a heavy load cannot compensate for weak plaster or brackets spaced too far apart, so design coverage on picture rails treats bracket placement and wall condition as part of the capacity equation, not an afterthought.
For heavier pieces, distribute weight across two hang points instead of one, which reduces strain on any single hook or bracket. One DIY installation account found chain working loads varying widely between products, for example an 11 pound rating versus a solid brass chain rated to 23 pounds, which is a real reminder to check hardware ratings rather than assume they’re interchangeable.
- Choose anchors rated for the specific substrate: toggle bolts for drywall, plaster washers for plaster, masonry anchors for brick or block.
- Use two or more hang points for mirrors and oversized canvases.
- Reinforce the rail into studs wherever possible rather than relying on the wall surface alone.
Chain and hook ratings can vary by more than double between products, so match hardware to your piece’s actual weight with a margin to spare, according to field testing from a DIY installation guide. Watch for a rail pulling away from the wall or a bracket that flexes under load: both are signs to stop and reinforce before hanging anything else.
Getting placement right: the rule of 57 and beyond
The rule of 57 sets the visual center of a piece at about 57-inch from the floor, a convention based on average eye height that keeps art feeling anchored rather than floating near the ceiling. Above furniture, the furniture becomes your reference point instead: leave a small gap of a few inches between the top of a sofa or console and the bottom of the frame, per the same guidance.
For vertical columns hung from a rail, treat the whole grouping as one composition rather than hanging each piece to its own center. Our guide to measuring art height walks through applying this line piece by piece.
- Mark your 57 inch line first, then build the arrangement around it.
- On staircases, follow the slope rather than a fixed horizontal line.
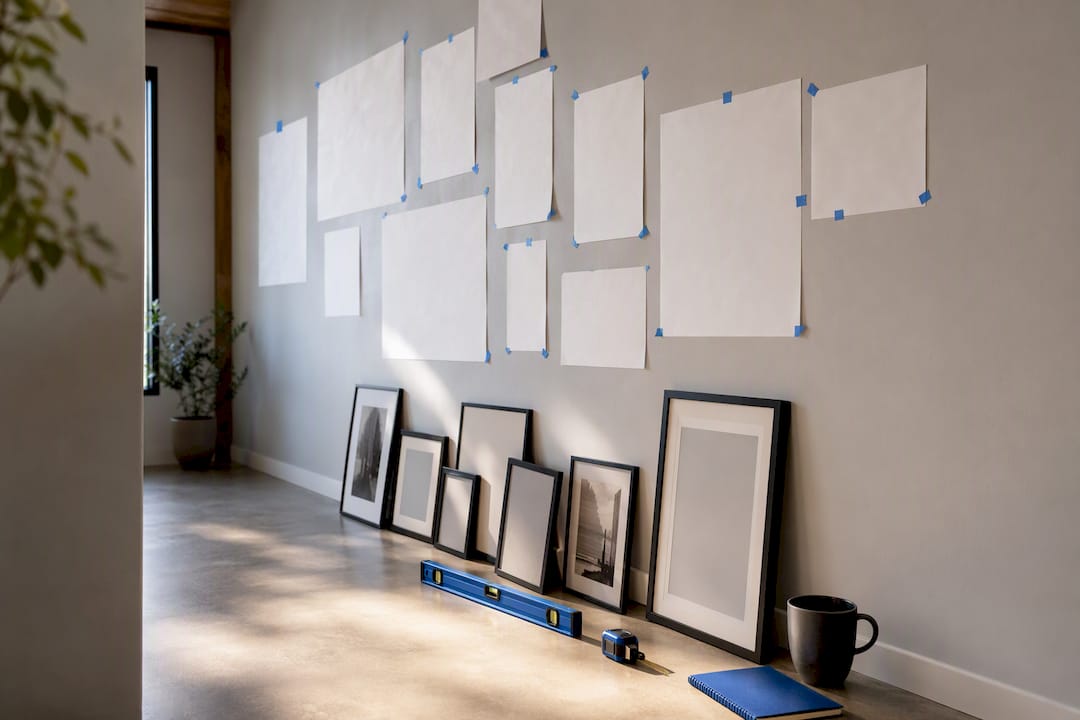
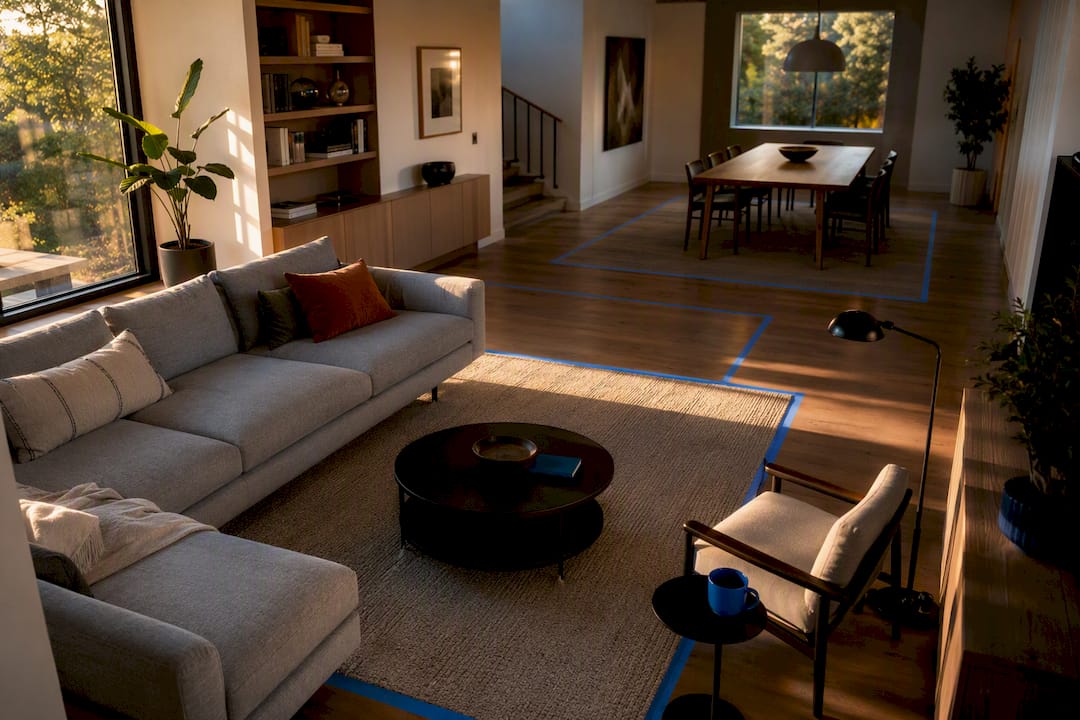
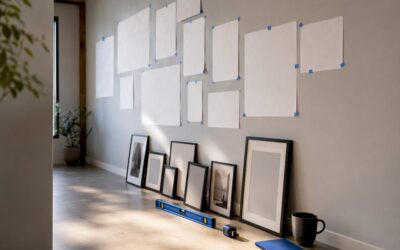
- Test layouts with paper templates or painter’s tape before committing hooks to the rail.
Mocking up a layout on the floor first, then transferring it to tape on the wall, saves you from discovering a gap or a crowded corner after everything is already hung.
Layouts that make the most of a picture rail
A rail’s real advantage is how easily it supports change. A vertical column of two or three pieces reads clean in a narrow hallway, while a centered focal piece flanked by smaller works suits a living room wall with furniture below it.
Along staircases, letting the rail follow the slope keeps the eye moving naturally instead of stair-stepping awkwardly, a method covered in our staircase gallery wall guide.
- Brass or bronze rail finishes warm up a room and suit traditional interiors.
- Matte black track reads modern and recedes against light walls.
- Rotate seasonal pieces by simply moving the hook, since the rail itself never changes.
How Art in Lifestyle approaches art placement
Our art hanging height guide and staircase gallery wall method both grew out of the same placement principles covered here: the 57 inch line, furniture-relative adjustments, and slope-first planning for stairs. Those how-tos shaped the sequencing recommended in this piece.
Choosing between a rail and mounting art directly
A rail earns its keep when you rearrange often, whether you’re a renter relying on a modern track or someone who likes swapping seasonal pieces without new holes. A single heavy mirror or a room where you want minimal trim is usually better served by mounting directly into a stud, since one solid point beats a rail built for movement rather than permanence.
— Nealda
Find hanging hardware and styling accessories in Store Finds
Once you know which hooks, chains, or D-rings your rail needs, our curated Store Finds shop gathers hanging hardware and styling accessories in one place, alongside layout templates that make test runs easier before anything touches the wall.

It’s not a replacement for a specialist hardware supplier when you need a specific load rating, but it’s a convenient stop for finishing touches once your installation plan is set. Browse the Store Finds collection to round out your rail setup.
Sources
- How to Install a Picture Rail | HGTV
- Why you should be considering picture rails and chains (House & Garden)
- Printstudio
FAQ
What is the best way to hang pictures from a picture rail?
Use a rail hook matched to your frame’s weight, then attach cord, chain, or braided wire to the frame’s D-rings and adjust the length until the visual center sits near the 57 inch line. This method avoids new wall holes and lets you reposition pieces whenever you want.
What is the best picture rail hanging system?
There isn’t one system that fits every home: traditional molding suits rooms where you want visible architectural detail, while a modern metal track suits spaces where frequent rearranging matters more than trim style. Capacity in either system depends on correct bracket spacing and solid backing, not just the hardware itself, as design practitioners note.
What is the rule of 57 for hanging art?
The rule of 57 places a piece’s visual center about 57 inches from the floor, based on average eye height, according to curatorial convention. Above furniture, that reference shifts to the furniture itself, with roughly 4 to 8 inches of clearance above it.
How do I make a picture hanging rail?
Building your own rail means cutting molding lengths, dry-fitting them at 12 to 18 inches below the ceiling, then securing them with construction adhesive and brad nails spaced about every 6 inches, following HGTV’s method. Finish nail holes and seams with caulk and paint before hanging anything from it.
Recommended
- Homeowners: Picture Light Height, Measure, Mount, Stand Back
- 60–70% Rule: Hallway Art Ideas That Fit Real Homes