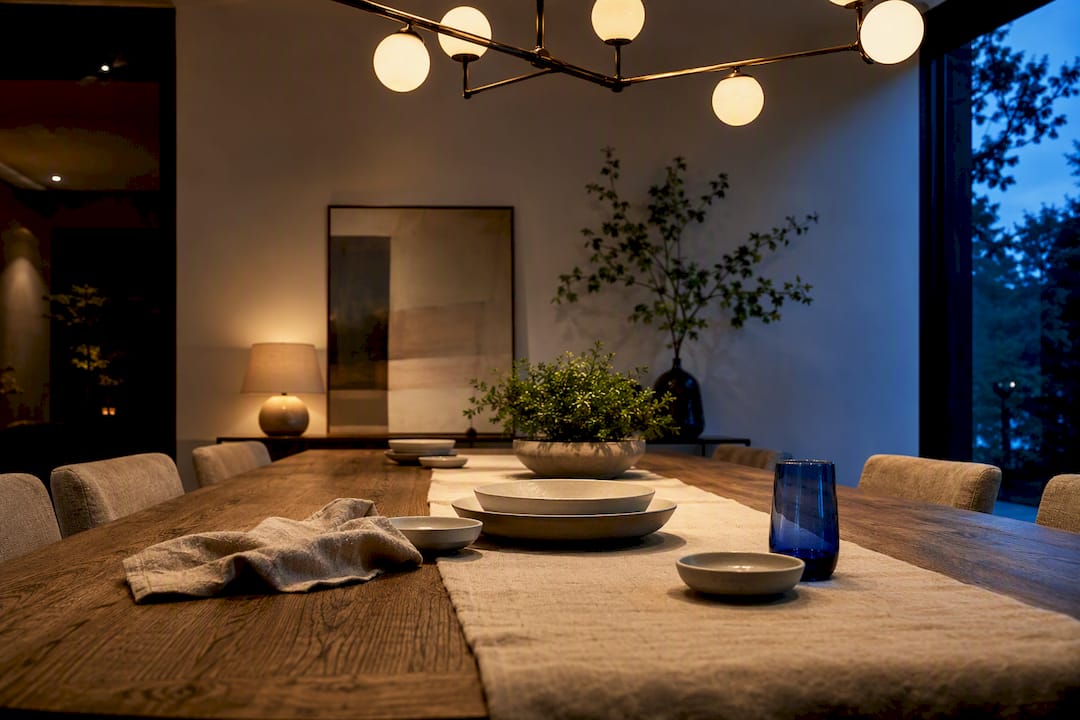
Hang the bottom of a dining chandelier 30 to 36 inches above the tabletop for a standard 8-foot ceiling. Add about 3 inches of extra drop for every foot of ceiling height beyond that. Measure from the tabletop to the lowest visible point of the fixture, not from the ceiling, and treat that number as a starting point. The real test happens when you sit down: if the fixture blocks a sightline across the table, adjust it regardless of what the formula says.
TL;DR:
- Chandeliers in rooms with ceilings over 8 feet require an additional 3 inches of drop per extra foot of ceiling height for proper proportion.
- The fixture’s diameter should be between half and two-thirds of the table’s width, with a common shortcut of subtracting 12 inches from that width to find a suitable size.
- The string test, performed by hanging a weighted string from the ceiling and sitting around the table, helps verify sightlines and comfort before permanent installation.
- Heavier fixtures or dense materials may need 1 to 3 inches more clearance, while transparent or delicate fixtures can hang slightly lower without blocking views.
- Proper support, dimmer compatibility, and electrical considerations require a licensed electrician, especially for heavier or ceiling box-requiring chandeliers.
Table of Contents
- Chandelier Height Dining Chart by Ceiling Height
- How Big Should Your Chandelier Be for the Table?
- Setting the Drop: A Step-by-Step Method
- When to Break the Standard Chandelier Height Rule
- Getting the Centering and Spacing Right
- Picking Bulbs and Dimmers That Flatter the Room
- Chandelier Installation Height: Mistakes and a Final Checklist
- Our Take on Getting the Height Right
- Let Art in Lifestyle Help You Get the Details Right
- Sources
Chandelier Height Dining Chart by Ceiling Height
The 30 to 36 inch baseline only works for one ceiling height. Once yours climbs past 8 feet, the math shifts, and Aurorae’s lighting guide recommends adding roughly 3 inches of drop per additional foot to keep the fixture from feeling stranded near a distant ceiling.
| Ceiling Height | Recommended Height Above Tabletop |
|---|---|
| 8 feet | a few feet (about 3 feet) |
| 9 feet | a bit higher than standard |
| 10 feet | higher than at 9 feet |
| about 10 feet | higher still |
| 12 feet | yet higher |
(Note: exact inch values are guidelines for standard residential ceilings.)
Choose the lower end of each range for delicate fixtures, smaller rooms, or a moodier, more intimate dining atmosphere. A slim brass fixture with fine detailing tends to disappear if it hangs too far above the table. Bulkier chandeliers, wide drum shades, or fixtures meant to anchor a large open room usually read better toward the higher number. Rooms with 14-foot ceilings or two-story spaces stop following simple math altogether. At that scale, Aurorae notes that drop length becomes a custom decision built around sightlines and proportion rather than a fixed rule.
How Big Should Your Chandelier Be for the Table?
Height only tells half the story. A chandelier that’s perfectly positioned but wildly oversized (or undersized) for the table will still look wrong the moment you walk into the room.
The standard proportion rule, confirmed by Bling Lighting Studio, says fixture diameter should land somewhere between half and two thirds of the table’s width. A simpler shortcut: subtract about 12 inches from the table’s width to land on a workable diameter.
- A larger dining table calls for a chandelier proportionally sized to roughly half to two-thirds the table’s width to keep good visual balance.
- Round tables generally want a single centered fixture with a diameter close to the table’s own.
- Rectangular tables often look better with a linear fixture or a row of pendants that echoes the table’s shape rather than one round chandelier competing with straight lines.
- If a single fixture would need to be unusually large to hit that proportion, switch to multiple pendants or a linear chandelier instead of scaling one piece past comfortable size.
Setting the Drop: A Step-by-Step Method
Getting the number right on paper means nothing until you’ve confirmed it in the room. Lighting professionals rely on a low-tech trick that costs nothing and takes ten minutes.
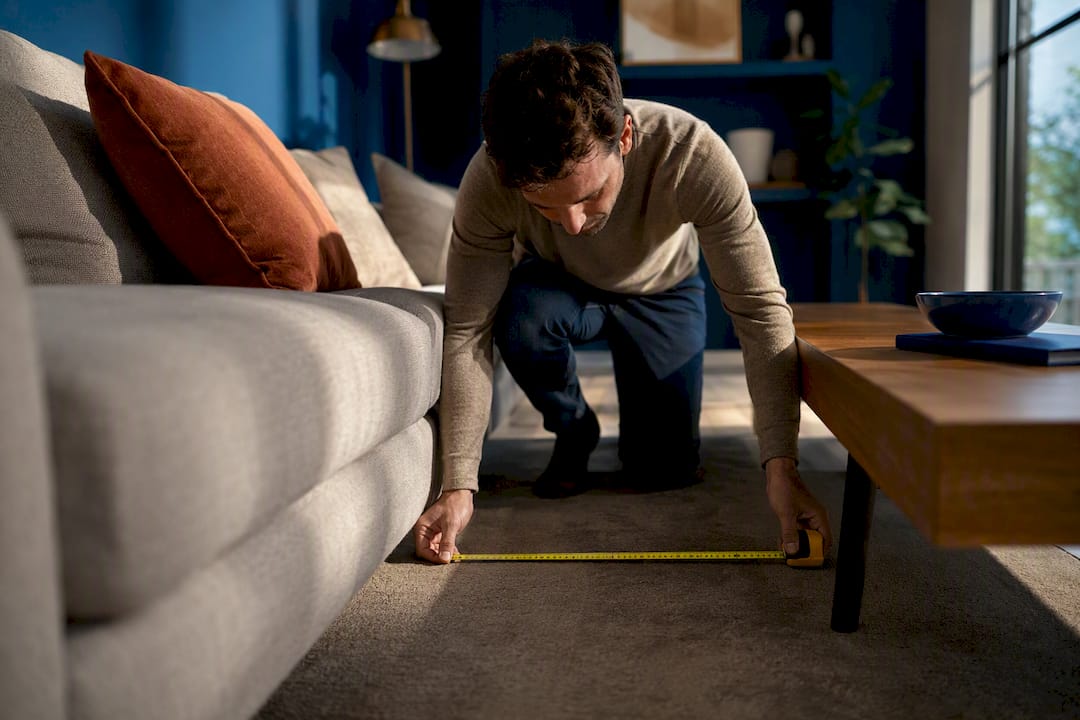
- Measure from the tabletop straight up to your target height, then mark that spot on the wall or a nearby ladder.
- Cut a length of string or ribbon to that exact measurement and tape a small object (a piece of cardboard works fine) to the end to mimic the fixture’s lowest point.
- Hang the string from the ceiling box or a temporary hook at that height.
- Sit in every chair around the table and check whether you can see the person across from you and whether the “fixture” feels crowded or too distant.
- Adjust up or down in 1 to 2 inch increments until every seat passes the test.
1800Lighting’s installation guide calls this the string test, and it catches sightline problems long before an electrician ever touches a wire. Chain-hung fixtures are easy to shorten yourself by removing links; cable and rod-mounted chandeliers usually need an electrician to trim and re-cap safely.
Pro Tip: Do the string test at night with the room’s other lights on. Daylight hides how a fixture’s shadow falls across faces, and that’s the exact problem you’re trying to catch.
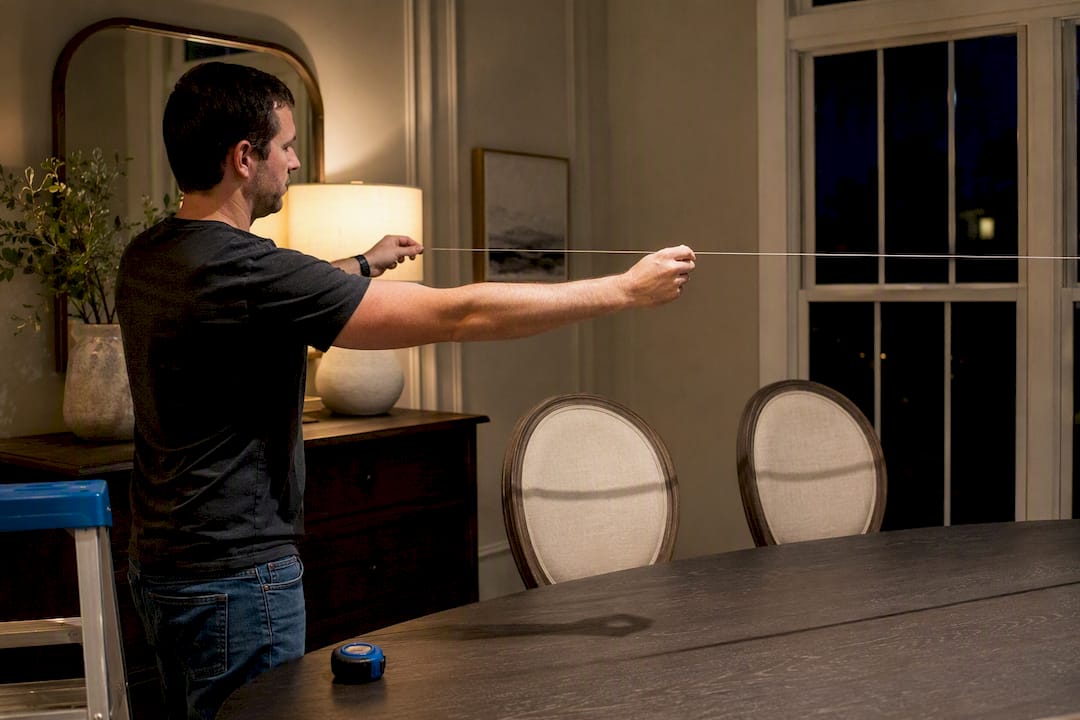
Before you start, gather a stepladder, tape measure, wire cutters or pliers if you’re trimming chain, and a voltage tester if you’ll be touching any wiring yourself.
When to Break the Standard Chandelier Height Rule
The 30 to 36 inch baseline assumes a fixture of average visual weight. Plenty of real chandeliers don’t fit that assumption, and that’s when the rule needs to bend.
- A visually heavy fixture, thick metal frames, large shades, or a dense crystal cluster, often needs 1 to 3 extra inches of clearance so it doesn’t feel like it’s pressing down on the table.
- A delicate or largely transparent fixture, thin wire forms or open glass, can hang slightly lower than the baseline since it doesn’t block sightlines the way a solid shade does.
- Linear fixtures over rectangular tables need their own sightline check along the table’s length, not just across it, since guests seated at the same side can still have a pendant cutting into their view of the person opposite them.
- Open-plan dining areas next to a living room or kitchen sometimes need extra height to keep the fixture from looking undersized against the surrounding volume of space.
Pro Tip: Photograph the table from a normal seated angle before you commit to a final height. Fixtures that look fine standing up often reveal problems only a phone camera catches.
Getting the Centering and Spacing Right
A chandelier centered on the wrong point ruins even a perfectly measured drop. Center the fixture over the table’s midpoint, not the ceiling’s electrical box, since builders rarely place that box exactly where a table will eventually sit.
If the box is off center, you have three options: shift the table to align with the existing box, hire an electrician to relocate the box, or use an offset canopy kit that lets the fixture hang plumb even when the box isn’t centered above it.
- For two pendants over a rectangular table, space them evenly and leave 10 to 12 inches of table length free at each end so the lights don’t crowd place settings.
- For three pendants, keep spacing equal between fixtures rather than clustering them toward the middle.
- Step back from the room’s entrance and check that the fixture looks centered from that angle too, not just from directly above the table.
Picking Bulbs and Dimmers That Flatter the Room
Height and size get a chandelier into the right position, but the wrong bulb can undo all of that work in a single evening. Warm white bulbs in the 2700 to 3000K range render skin tones and food far more naturally than cooler daylight bulbs, which tend to flatten color and make dishes look washed out.
- Look for a CRI (color rendering index) of 90 or higher; a low CRI bulb can make a perfectly cooked meal look gray or dull under otherwise good light.
- Confirm your dimmer is rated for LED drivers before installing one. Mismatched dimmers cause flickering or buzzing that no amount of bulb swapping will fix.
- Set up two go-to light states, full brightness for cleanup and homework, dimmed for dinner, so the same fixture works for the full range of what happens at that table.
- Exposed-bulb chandeliers need lower-lumen, decorative bulbs since the filament itself is part of the look; shaded fixtures can handle higher-lumen bulbs since the shade diffuses the glare.
Color rendering matters more than most homeowners expect. A comparison of vibrant food presentation makes the case plainly: the same plate can look appetizing or flat depending entirely on the light source above it, which is exactly why CRI belongs on your shopping checklist alongside style and finish.
Chandelier Installation Height: Mistakes and a Final Checklist
Most chandelier height complaints trace back to one of four errors: measuring from the ceiling instead of the tabletop, skipping the sightline check entirely, buying a fixture too large for the table’s proportions, or leaving too little headroom for anyone standing up at the head of the table.
- Confirm your baseline measurement using tabletop-to-lowest-point, adjusted for ceiling height.
- Run the string test at the final height and check it from every seat.
- Verify the fixture diameter falls within the half-to-two-thirds proportion range for your table.
- Check that the mounting hardware and ceiling box can support the fixture’s weight; heavier chandeliers often need additional bracing.
- Confirm dimmer and LED driver compatibility before final wiring.
- Call a licensed electrician for any ceiling box relocation, added bracing, or fixture exceeding standard weight limits.
Structural work and rewiring are the two points where this stops being a weekend project. Anything involving a new electrical box, added support, or a fixture heavier than the existing hardware was rated for belongs with a licensed electrician, not a ladder and good intentions.
Our Take on Getting the Height Right
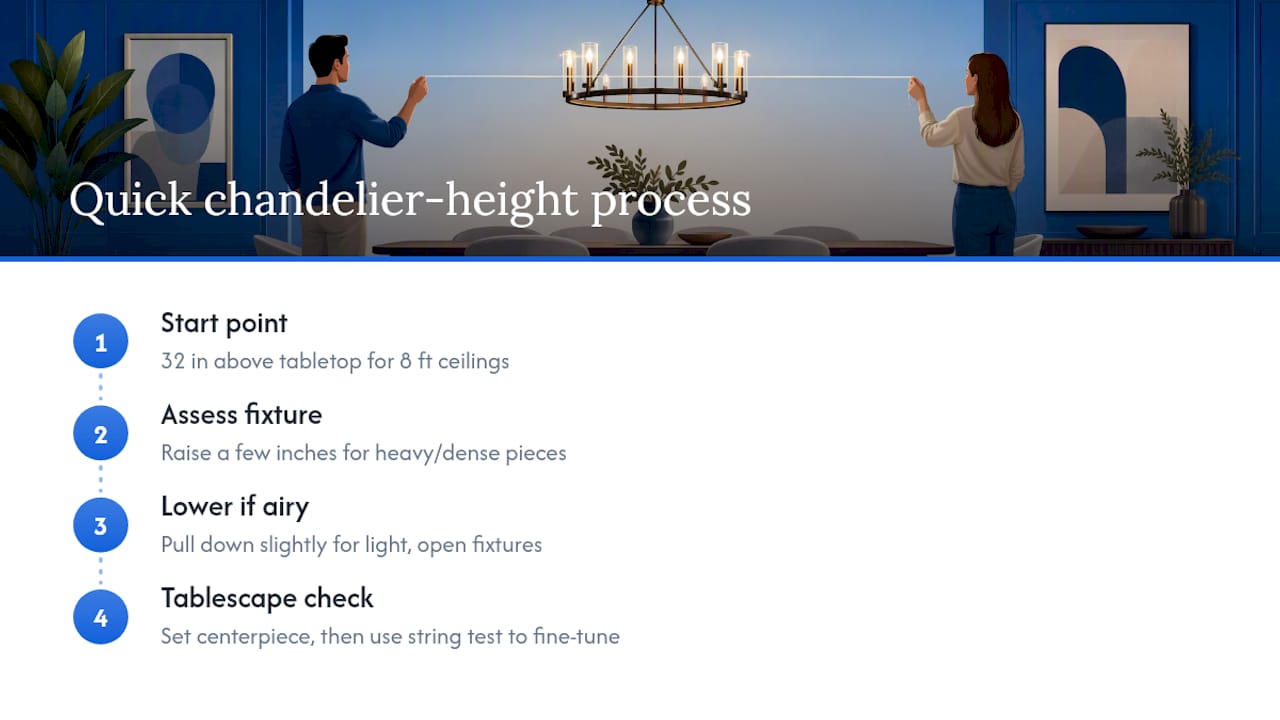
We default to 32 inches above the tabletop for 8-foot ceilings before adjusting for the fixture in front of us, a starting point echoed in Aurorae’s own room-by-room guidance. From there, everything comes down to how the piece actually reads in the room. A chandelier with visual weight, dense glass, dark metal, gets nudged up a couple of inches so it doesn’t compress the space. Something airier gets pulled down slightly, close enough to feel intentional rather than adrift near the ceiling.
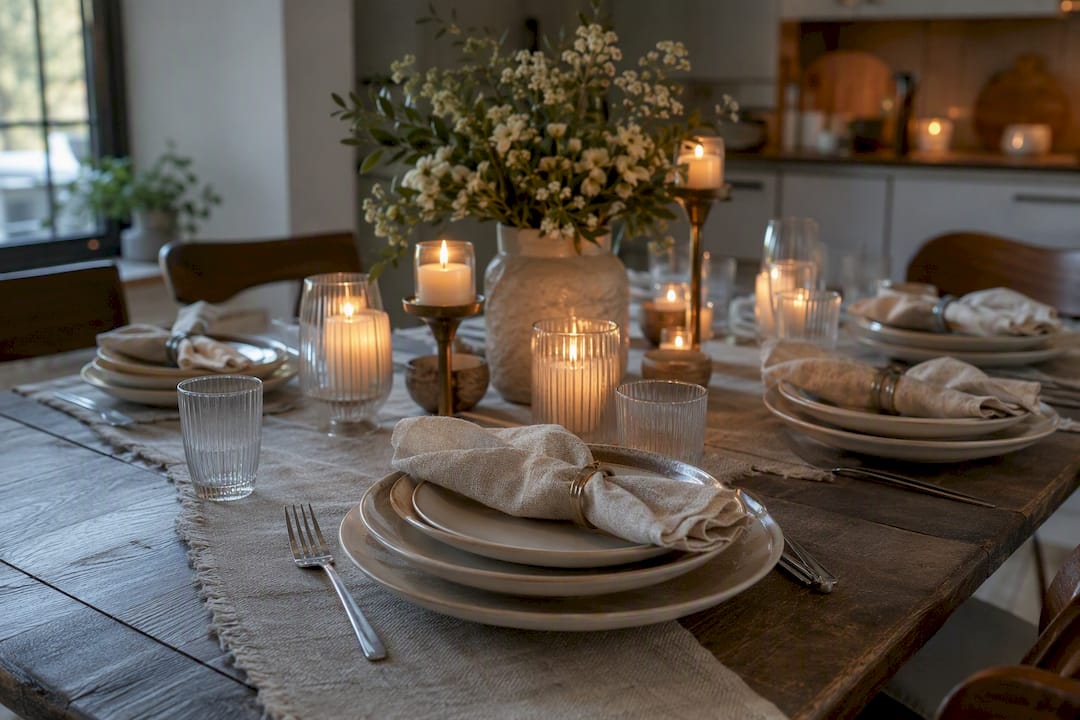
The habit worth stealing from stylists: build your tablescape first, then check the chandelier height against it. A tall centerpiece or stacked candlesticks can make a correctly measured fixture suddenly feel too low, and that’s a five-minute fix once you catch it before the string test’s final adjustment rather than after the electrician leaves.
— Nealda
Let Art in Lifestyle Help You Get the Details Right
Getting a chandelier’s height, diameter, and bulb temperature to line up perfectly takes more back-and-forth than most people expect, and that’s exactly where a second set of eyes helps more than another chart. A design concierge service can pair you with curated design guidance to help with the process so you’re not the string, the ladder, and the sightline check all at once.

Beyond one-on-one advice, curated fixture picks, dining room styling ideas, and current home trends can be useful to know before you buy. If your dining room’s ceiling geometry, table shape, or overall style is giving you trouble beyond what a tape measure can solve, consider seeking a second opinion before you drill a single hole.
Sources
- How to Hang a Dining Room Chandelier at the Perfect Height
- How High to Hang a Chandelier: 2026 Room-by-Room Guide | Aurorae
- Chandelier Height Above Dining Table: 30–36 Inch Guide – Bling Lighting Studio
- Guide to Hanging a Chandelier in Your Dining Room